
Latest Comments

Guest - Aislinn Dyestuff Citizen Science.
09. Oktober 2026
This is a great project. I look forward to the results. Thanks for letting us know.
Guest - Aislinn Time for...
09. Oktober 2026
Looks delicious!
Guest - Katrin Sprang Discussion
18. September 2026
Hi Rachel, I have looked for more photos of you, but that was not very successful. I found a link on...
Guest - Beatrix Sprang Discussion
15. September 2026
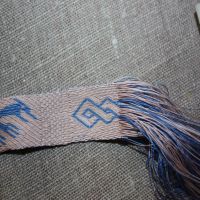
That lozenge pattern element is not a photograph, but a scan. So it should be to scale. But I pinned...
Guest - Katrin Sprang Discussion
15. September 2026
I was not referring to Rachel's reconstruction (is the reconstruction you refer to the one photograp...
APR.
11
0

Outfitting Embroidery Frames


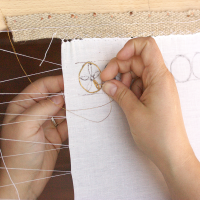
Here are a few images from the workspace, so to say - I've been outfitting part of the new embroidery frames with bands to attach the fabric.


The way these frames work is rather simple: You baste or herring-bone-stitch your embroidery ground fabric to the bands at top and bottom of the frame. Then you tension the fabric between the frame bars with help of the wooden pegs; if your fabric is a long strip, you can roll it around one of the frame bars to store the excess. (The bars are fairly rounded to avoid sharp crimps in the fabric or, as you progress, in the embroidered fabric.)


Once your vertical tension is thus established, you get a nice horizontal tension by stitching the left and right edges to the vertical slates. Using a needle, you pierce the fabric, then wind your tensioning thread around the slate, then go through the fabric again.


This setup of the fabric is, obviously, more time-consuming than just plopping a modern round embroidery frame onto a piece of fabric, but it will give you a higher, more controlled tension that will not slack off quickly or easily.


To make all this possible, though, you need the bands on top and bottom of the frame - and fitting these is a story of its own.


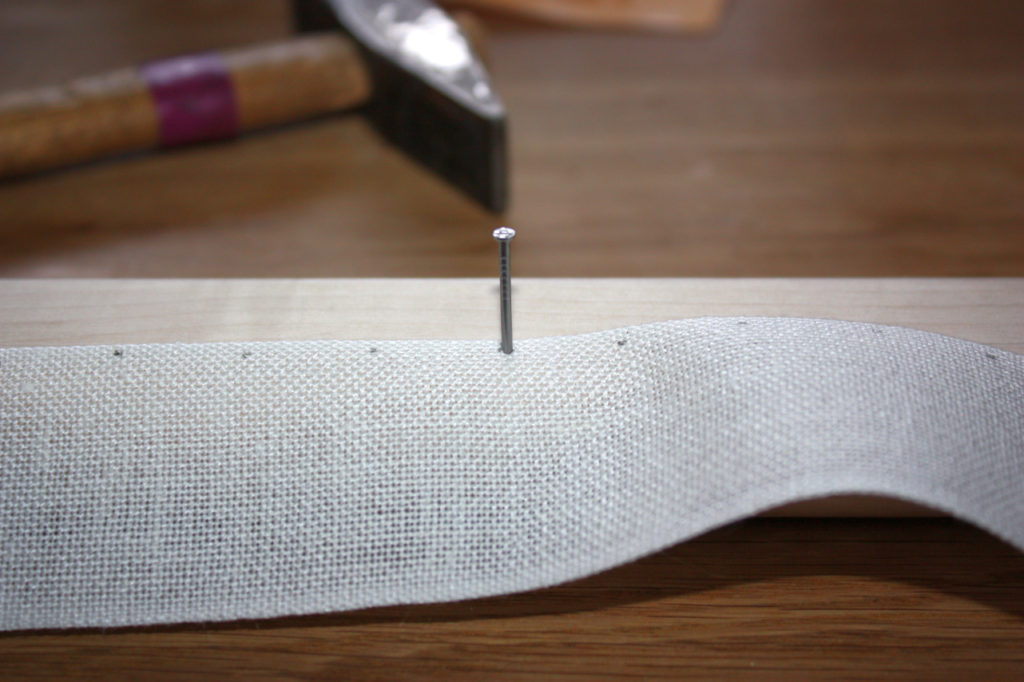
First of all, the bands are cut and their edges are hemmed. Then the real thing is up - the attachment. I use small copper tacks to attach the linen bands to the frame; they have to be placed close enough to each other so the band doesn't get a lot of opportunity to sag between attachment points.


They are tiny, and soft, and they look really nice. As they are tiny, it's rather fiddly to handle them, though. And because the wood of the frames - birch, beech, or maple - is rather hard, it's also very easy to just deform the tacks instead of hammering them in - which is why every one needs some pre-holing. I do that with help of a slim steel nail.


Once every attachment spot has its hole prepared through the band and into the wood, the tiny tacks are inserted into the holes, two or three at a time. Theoretically, I could insert all of them at once, but experience has shown that this does not save time, as the vibrations from hammering in their mates makes those further down the row jump out of their prepared holes again... which is not very helpful.
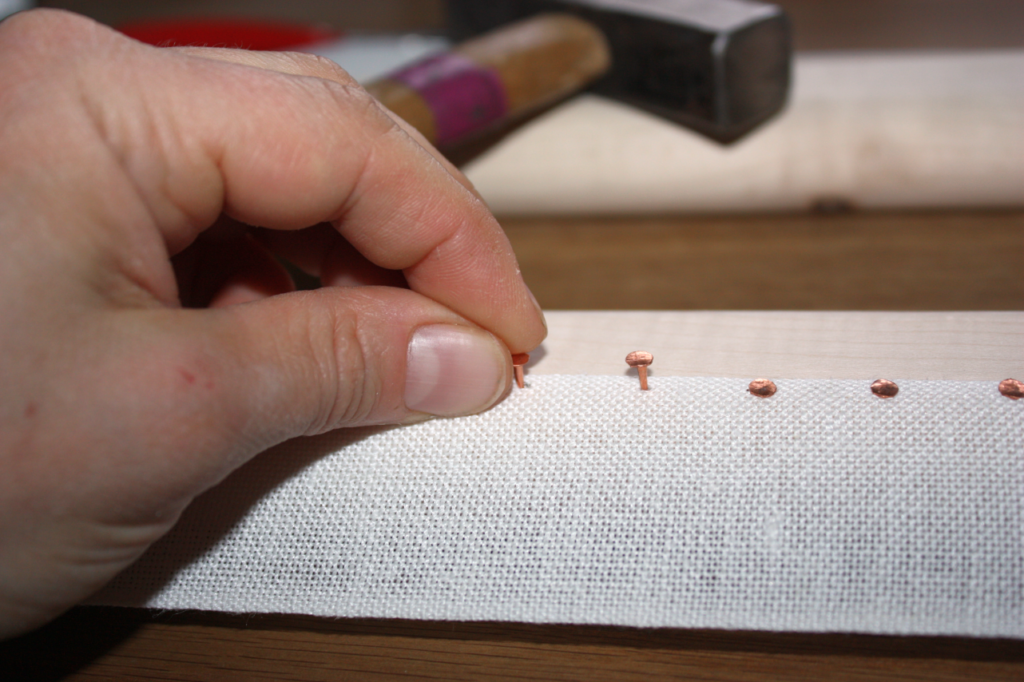


So there's bit by bit fitting and hammering, until all of the holes are filled. And then the process is repeated for the second of the bars for each frame.
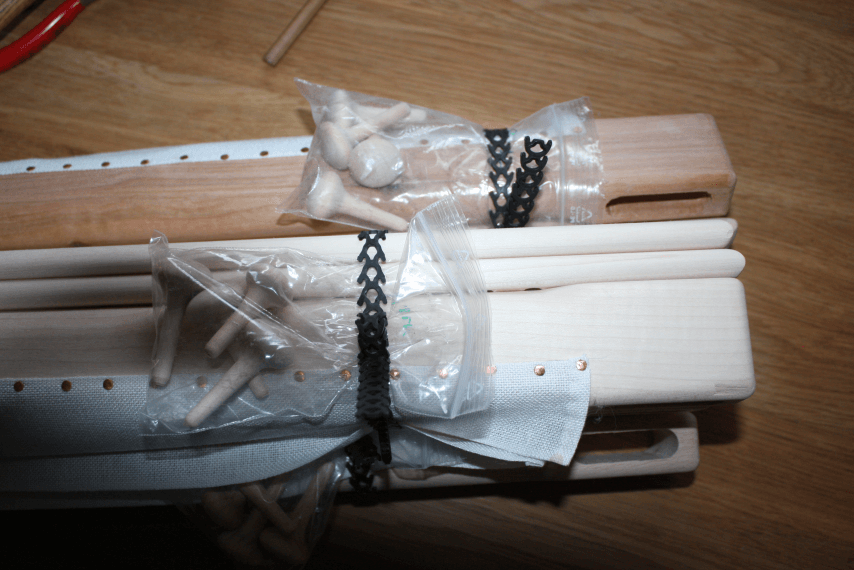


Once that is done, the two fitted bars get bundled with their side slates and four pegs, turned out of the same wood - and they are ready to be used for some lovely embroidery!

0
APR.
05
2

New Things in the Shop!


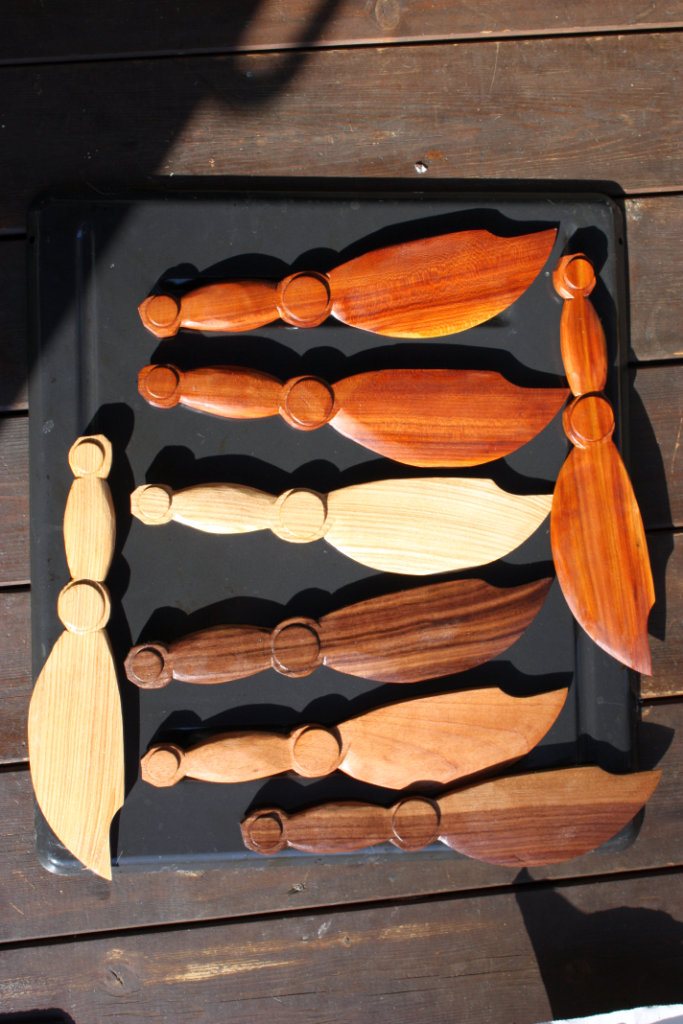
There's something new in the shop - I have finally found someone to make some more copies of the weaving knife found in Dublin, DW80. It was found near Christchurch Cathedral, in unknown context, but is probably Early Medieval/Viking age.


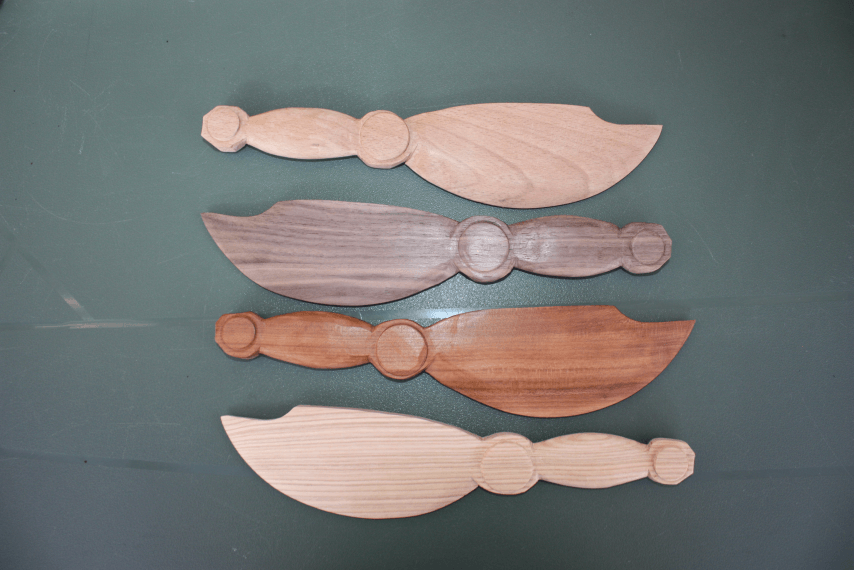
They arrived looking like this:


It's beech, walnut, Zwetschge (a kind of plum) and ash wood; and of course I promptly went ahead and applied some linseed oil and sat the blades in the sun so the oil could soak in nicely.


The wood looks even more gorgeous with the added depths of colour and the shine it has. Linseed oil will harden by an oxidation process, protecting the wood.


These versions have the form of DW80 without the embellishments, by the way - but the functionality is the same as in the original. I've used (and had other people try) this form, and it is wonderful. The pointy tip can be used to pick out individual threads, or to single out a troublesome tablet, or to clear the shed. The main thing, though, is the form of the blade: its curve allows the weaver to gently yet firmly press the previous shed into place.


Yes, it's usually called "beating in the weft", and that is what a lot of people do when tablet-weaving. When you have a full-size standard horizontal loom, the motion to settle the weft is indeed beating. The type of loom makes this a sensible and efficient way of doing the task at hand.


Of course you can use a similar sharp beating motion to settle your weft on a band, but there are distinct disadvantages to this. One of them: You will need a lot of space between your tablets or your heddle to build up speed for your beating implement before it hits the fell. At least I do - otherwise, my beating is not hard enough to really get the previous weft packed in tightly. You also need to hit with the beating implement exactly parallel to
the fell, or you will end up with uneven weaving. The main reason against real beating in my opinion, though, is that you will put a lot of strain on your tensioning spots and/or knots. With both tablet and rigid heddle weaving, I find that finding the correct tension is one of the key points that will make your weaving go from "okay" to "smooth going with excellent results". Tension has an influence on the width of the band, the elongation of the motifs, and the ease of changing sheds. Fiddling with tension, to arrive at that point sometimes means working with very, very delicate adjustments, held by knots that will sit tight where they are... unless there are sudden, strong changes in the tension on these knots. Which is exactly what happens when you beat in the weft.


So I much prefer to press in the weft; I can even hold the band with one hand to build up counter-pressure if I want to press very strongly, using the weaving blade with the other hand. The curved shape allows me to use a kind of rocking or rolling motion across the fell, exerting pressure in a small spot at a time, so I can make sure that the fell is completely straight. No sharp, short motions, but a nice, quiet, gentle flowing move that fits in very well with my general style of movement when weaving.


In case you are curious enough now to want one of your own: Here is the shop link!

0
MäRZ
28
0

Technical Troubles in the Blog

I've done a software update recently, and there's some technical issues with the blog since then - which I hope will be solved soon. Technical issues of the kind where sometimes it works and sometimes it doesn't, and the search for the reason is still going on (which was, by the way, the reason for the spam posts yesterday).

So if there's sudden blog silence, you know what is behind it!

0
MäRZ
27
6

Wenn einer eine Reise tut...


There's a German saying which goes "Wenn einer eine Reise tut, so kann er was verzählen" (if someone goes on a journey, he has stories to tell). Well, that's definitely true for the trip I had to Oberstdorf...


On about halfway to the fair, I made a stop to re-fuel the car and have a potty break... but when I wanted to drive away from the fuel pump, my trusty (not-so-)little car refused to do it. The engine started almost normally, but died again at once... so I finally got to use the breakdown cover that we got back when we got the car.


Which was when I stuck the little card into my wallet. Which was not yesterday - and accordingly, the number was not working anymore. So a little bit of internet searching and phoning later (thank goodness for having a smartphone), I was able to tell a friendly young man what had happened, where I had planned to go, and a little bit later, I got told that a pickup would be coming to get me and my car to the next associated car workshop, where I'd get a rental car to continue my trip.


And that is exactly what happened. So I got to handle all my stock and fair booth stuff once more, after loading it into the car early in the morning, now cramming it into the rental car (which was quite a bit smaller than mine). After that was finally done, off I went - to arrive in Oberstdorf a few minutes before the hall was due for closing. Margit had in the meantime set up her own part of our booth, and prepared as much as possible for me - figured out where to place the workshop table and benches, where we would place my tables, and gotten my paperwork and parking permit sorted out.


Then we spent about twenty extra-exhausting minutes running to the car and transporting my stuff inside as fast as possible, so we'd have it in there to finish setup in the morning. We just managed to get it done before the hall closed... and I got to enjoy speed-booth-setup in the next morning.


It all got done in time, if only just, and I remained a little confused as to what of my things was where throughout the fair, as I had had to re-pack (and consequently re-order) things when changing cars. Nothing crucial had been left behind, though.


Needless to say, I was extra tired in the evenings... what a good thing that I could fall into bed nice and early. Apart from the car calamity, though, we had a really good time - nice weather, nice customers, and nice colleagues. I actually managed to catch up with two of them - Renate from Wollstube Wollin (who stood opposite us, and who is to blame for my going home with more yarn to knit), and the lovely Solveig from Alice im Wunderladen, who spent her break with Margit and me.


Meanwhile, I am back home, the car has been repaired and is also back home, and all that remains is - as usual - to re-fill things that have become low in stock and to do the fair homework... and then the next fair will be the Nadelwelt in Karlsruhe. I'm looking forward to that, and hopefully to a smooth trip there and back!

0
MäRZ
26
0

News from the Dark Side.

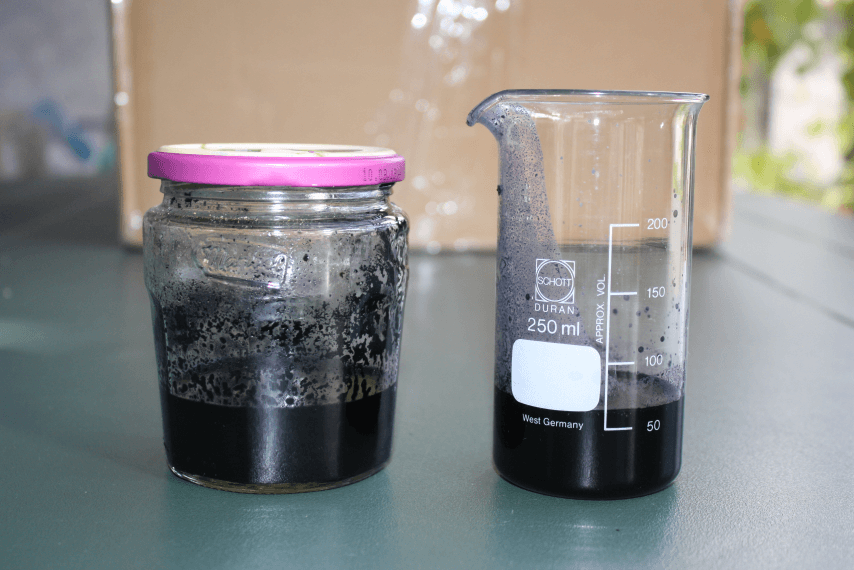
The ink, according to the recipe I was using, is finished - and the result is a very dark liquid with a blueish tinge, much darker than I'd expected. That might be due to my making a very small amount (which would increase the surface to volume ratio, and thus oxidisation) or it might be due to the longer time of the ink standing around, or it might be due to the ingredients.

Whatever the reason, I have learned several things.

One: There is quite a lot of sludge left (which the recipe says can be used for a second batch of ink), reducing the yield of actual liquid to write with quite a bit... to about half, actually, in my case.

[caption id="attachment_4377" align="alignnone" width="854"] Sludge left, ink right...


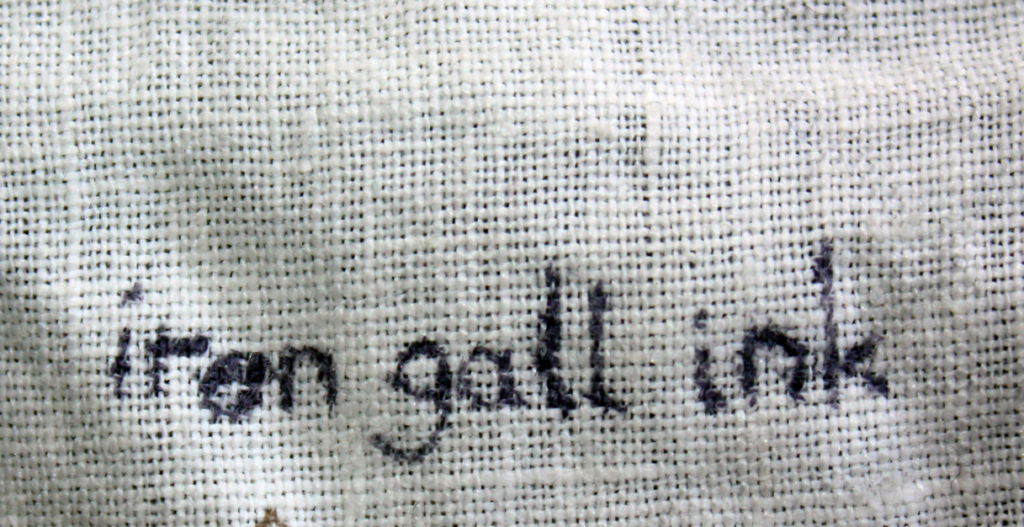
Two: It's a fairly viscous ink. That is a nice thing as it makes using the ink on fabric a bit easier than when it's more liquid - though with a bit of practice, that is also no problem.

[caption id="attachment_4378" align="alignnone" width="640"] The ink test on fabric...


So that would make this ink nicely suitable for use as embroidery pre-drawing... if there were not number

Three: It's too oxidised, and that means there are too many free-floating ink particles in the liquid. Which means that though it will not wash out, it will bleed - and this, in turn, means I will look for (and try) a different recipe, and see if that works better.


The ink I have now is still a nice ink, though not for pre-drawing. It does give a lovely black on paper or parchment, though, and that usually does not get washed... so if someone needs some writing ink, let me know!
0
MäRZ
22
0

Fair Season has started!

Well, for me it starts today - I am on my way to Oberstdorf for the Allgäuer Nadelstiche.


There will be yarns, and nalbinding workshops at our booth, and there will be mountains in the background and coffee and good times with Margit.


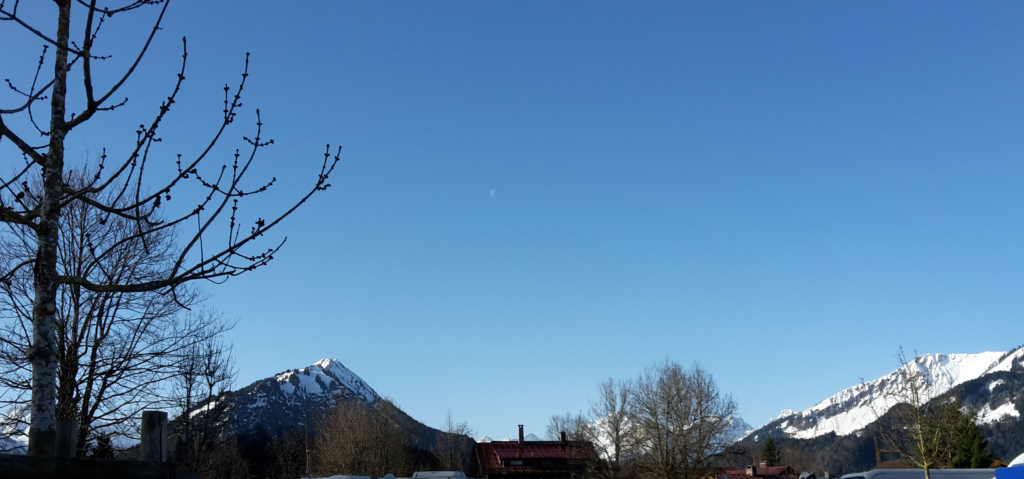
[caption id="attachment_4389" align="alignnone" width="640"] Last year's view of the mountains... I guess they will still be there this year.


The car is loaded, my trusty thermos mug is filled with delicious coffee, and tomorrow and Sunday, I'll be at the fair - drop by and say hello, and have a look at the delightful brand-new things I am bringing along with me!
0
MäRZ
18
0

Oil Light Extras, and Silk Colours.

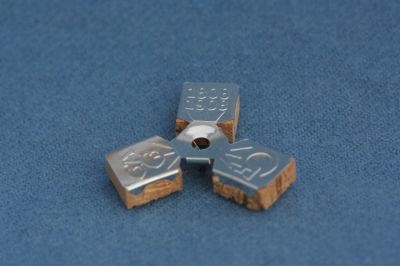
I'm getting asked now and then about the oil light swimmers in my shop - are they available on their own? And now... they are.

With my last order of the complete sets, I was able to also get the swimmers solo, both the three-bladed and the round type. So now everyone who wants to have an extra wick-holder or five... can!


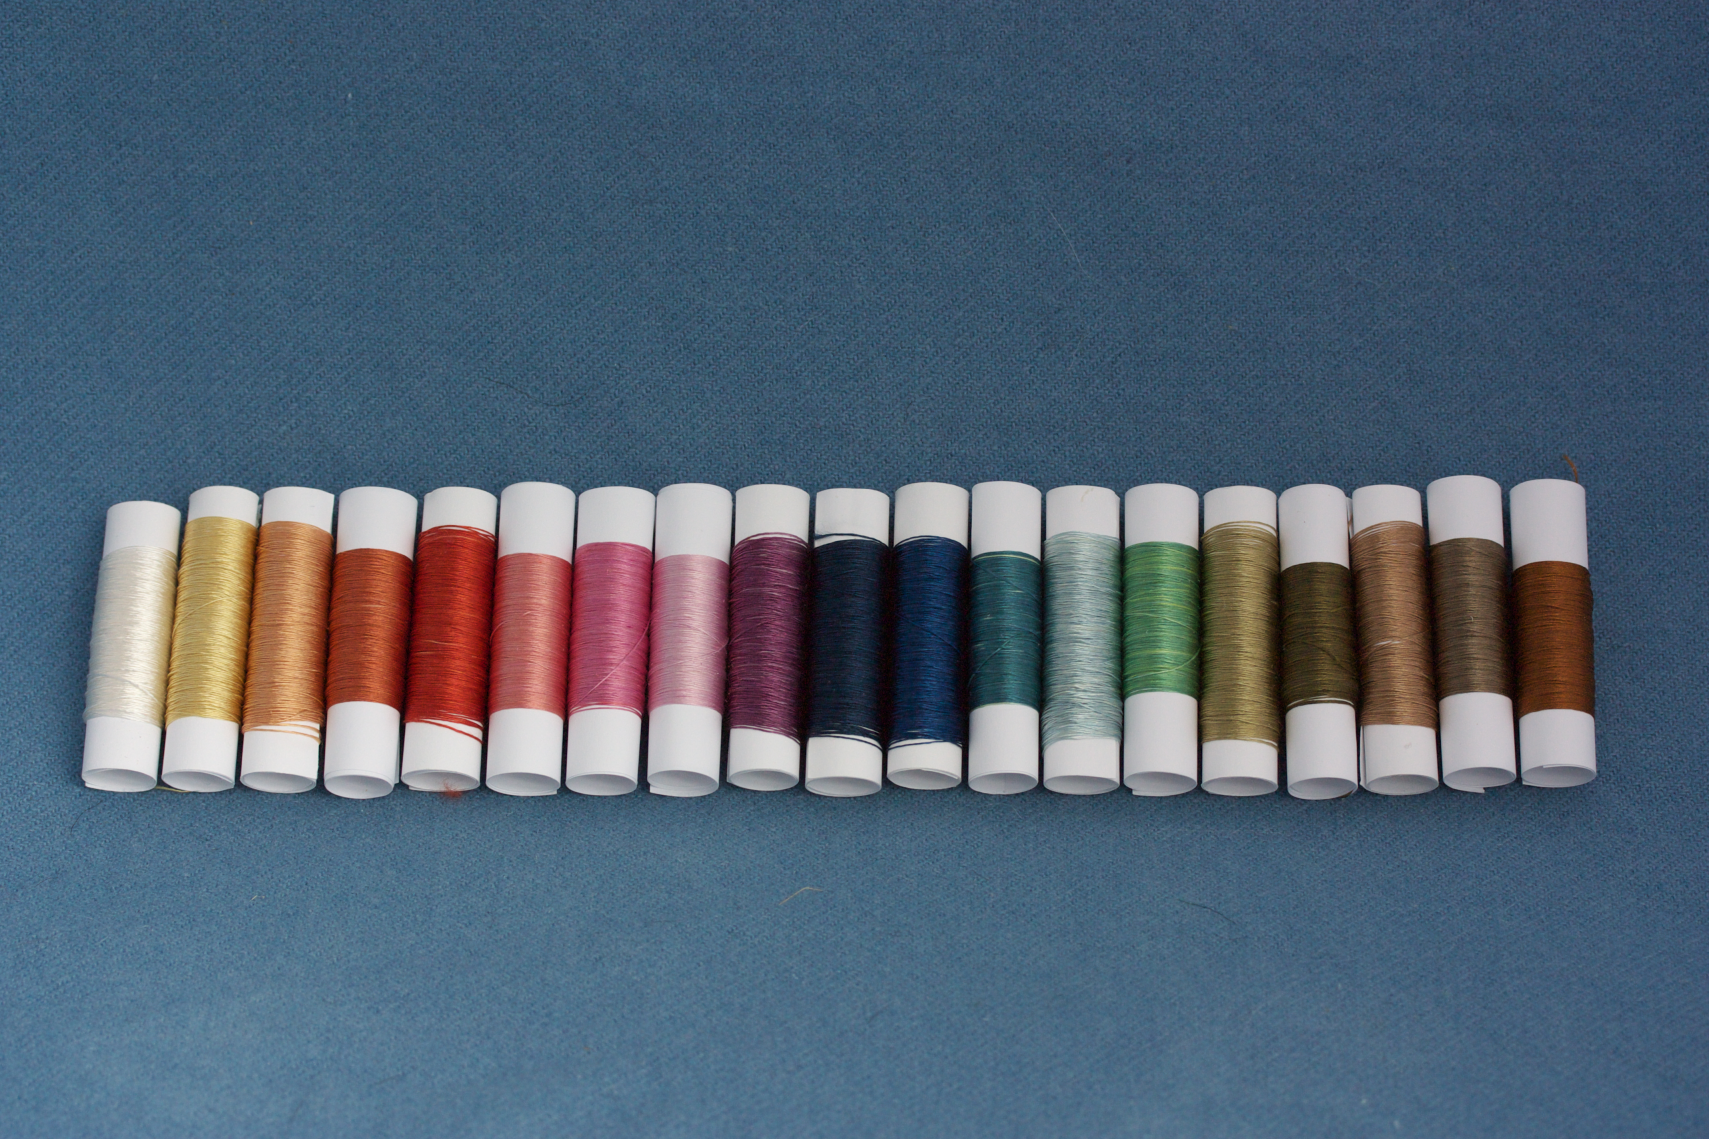
The new silk colours for the embroidery silk are in the shop now as well. I am quite in love with how the new lineup of colours looks:


I'm really happy about this. And I'm even happier that these are not the only new thing coming into the shop... there's several things that have been in the pipeline for a while, but had not yet come to fruition. Now, though, things are moving, and if everything goes according to plan, I will have something shiny and nice in about two weeks' time...
0

By accepting you will be accessing a service provided by a third-party external to https://www.pallia.net/

Kontakt