")
")


Search the Blog
Latest Comments
Beatrix
Experiment!
23. April 2024
The video doesn´t work (at least for me). If I click on "activate" or the play-button it just disapp...
Katrin
Spinning Speed Ponderings, Part I.
15. April 2024
As far as I know, some fabrics do get washed before they are sold, and some might not be. But I can'...
Kareina
Spinning Speed Ponderings, Part I.
15. April 2024
I have seen you say few times that "no textile ever is finished before it's been wet and dried again...
Katrin
How on earth did they do it?
27. März 2024
Ah, that's good to know! I might have a look around just out of curiosity.
I've since learned that w...
Heather Athebyne
How on earth did they do it?
25. März 2024
...though not entirely easy. I've been able to get my hands on a few strands over the years for Geor...
Mask Making Adventures (part III)
With the basic shape of the mask done, it now needs side, top and bottom seams; some way of adjusting shape and fit over the nose; and some means of fixing it to the wearer's head. So let's get those done too...
First of all, top, bottom and side seams. This basically means folding under the seam allowances and stitching the seams. I opted for a running stitch along the top, and for a whipstitch along the bottom of the mask.
Before closing up the mask at the sides, the nose wire has to go in. I used two trash ties that I twisted together; in the first try, I had a strip of metal from a filing thing, and that was too wide for my facial anatomy, which means it tends to press down on my nose with one of its edges. Not very comfy.
[caption id="attachment_5253" align="alignnone" width="640"]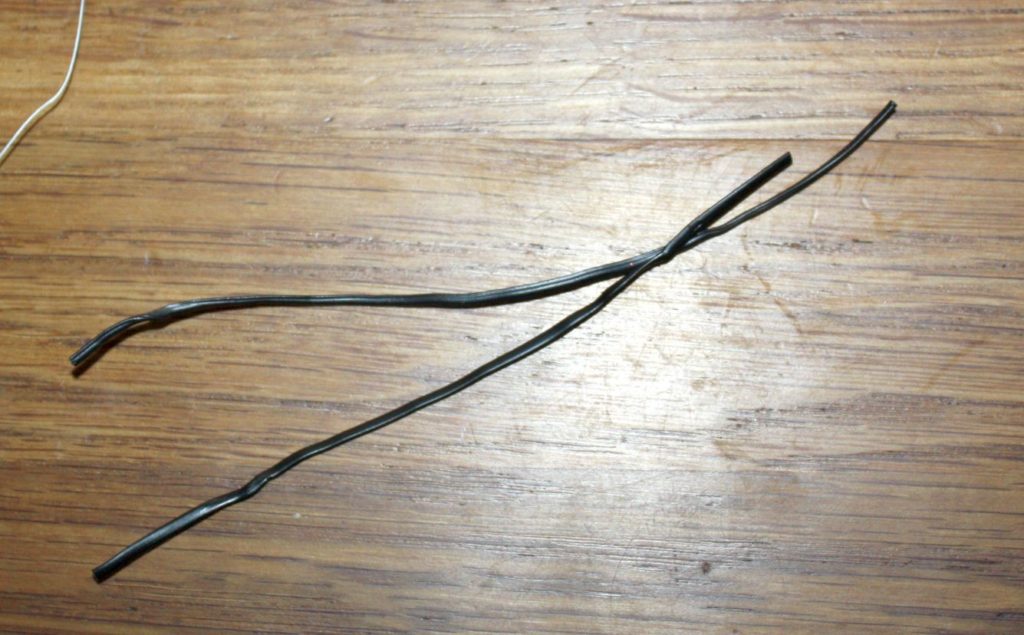 Two trash ties...
[caption id="attachment_5252" align="alignnone" width="640"]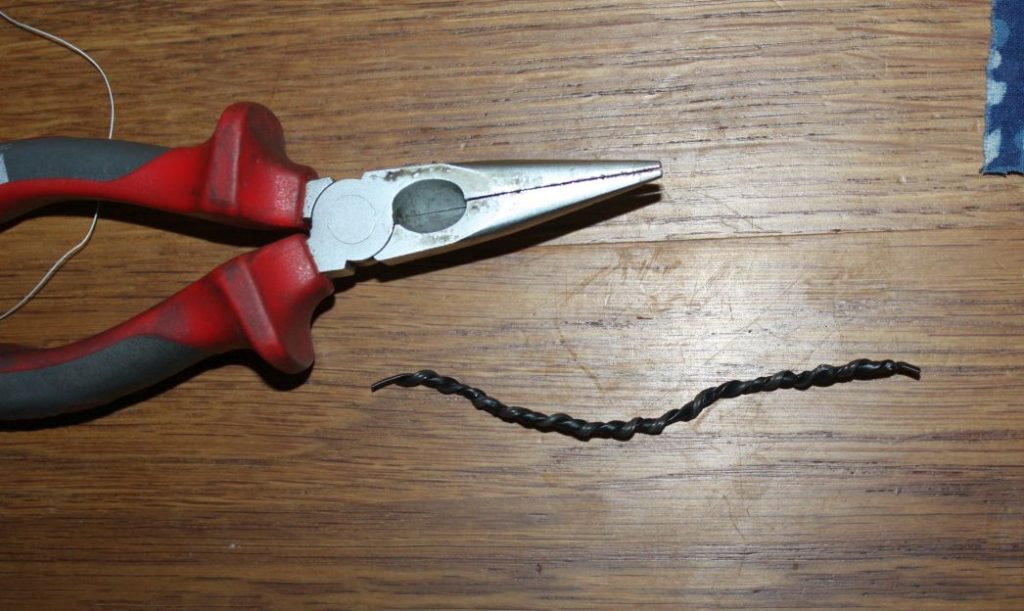 ...twisted together...
[caption id="attachment_5251" align="alignnone" width="640"]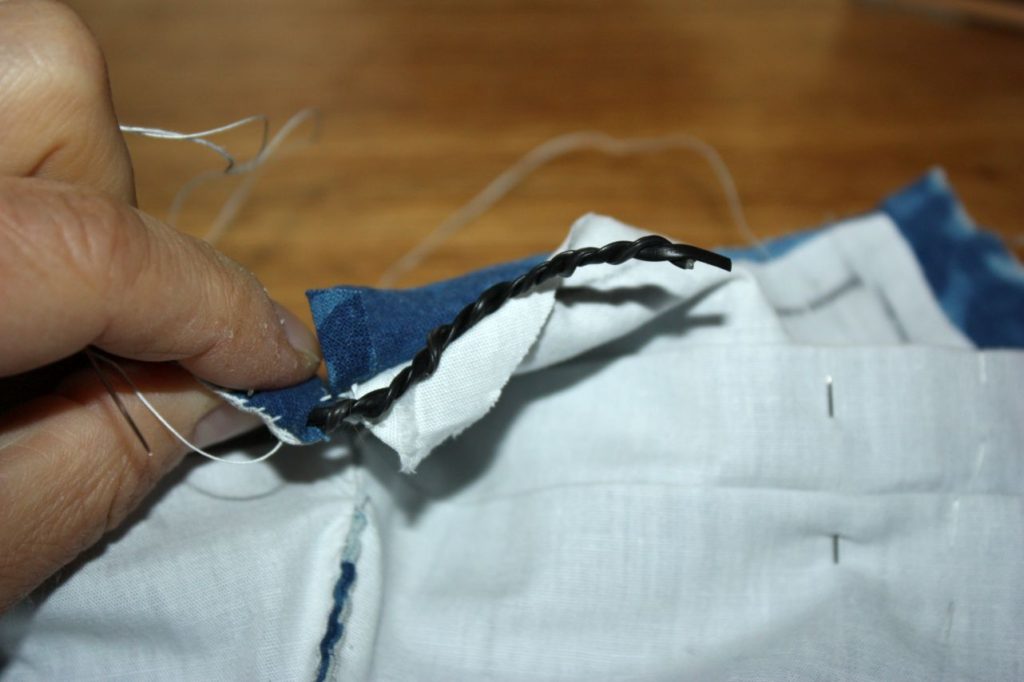 ...and stuck into the mask at the nose part.
Getting the nose wire in is, again, a little fiddly. It also helps to not work the nose part seam from the very edge of the mask, like I did, because then there's no space to fit the wire... unless you take out a few stitches again. (Which is what I did. Obviously.)
I fiddle around until the wire is where it is supposed to be, then press it into the edge seam and stitch right below it.
For the sides, where the edges got folded under and then stitched together, I used the Viborg variant again. Another way would be to leave a wider seam allowance for the outer fabric, fold the lining allowance under, stitch a line to fix that and the folds, and then work the extra outer fabric into a tunnel for a strap.
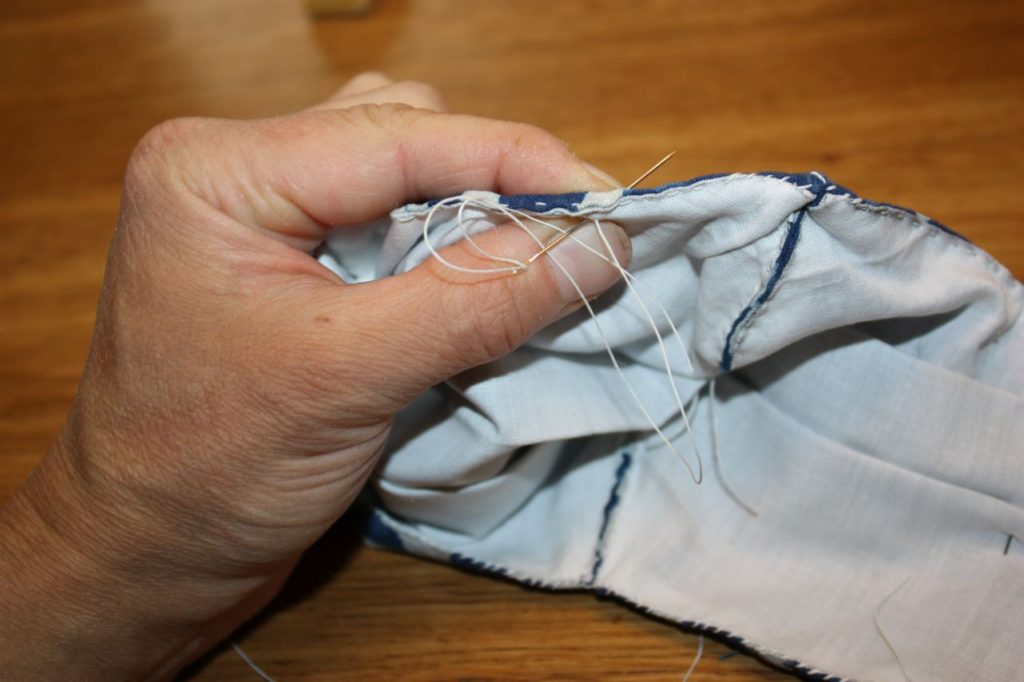
[caption id="attachment_5250" align="alignnone" width="640"]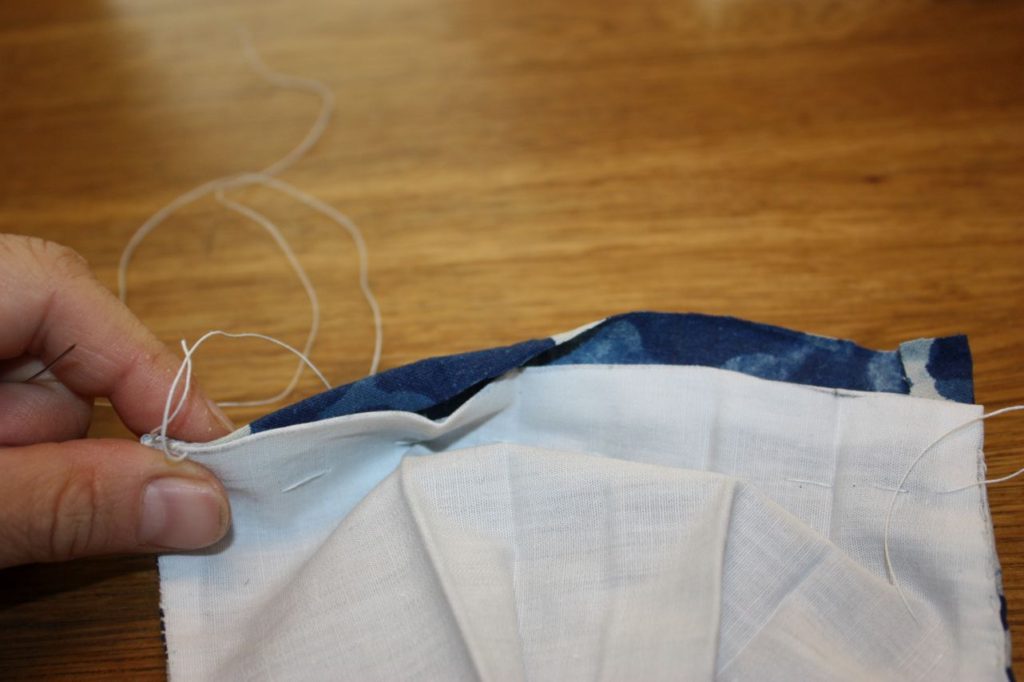 Starting the side seam - folding the edges to the inside, and then folding the folds up again.
[caption id="attachment_5249" align="alignnone" width="640"]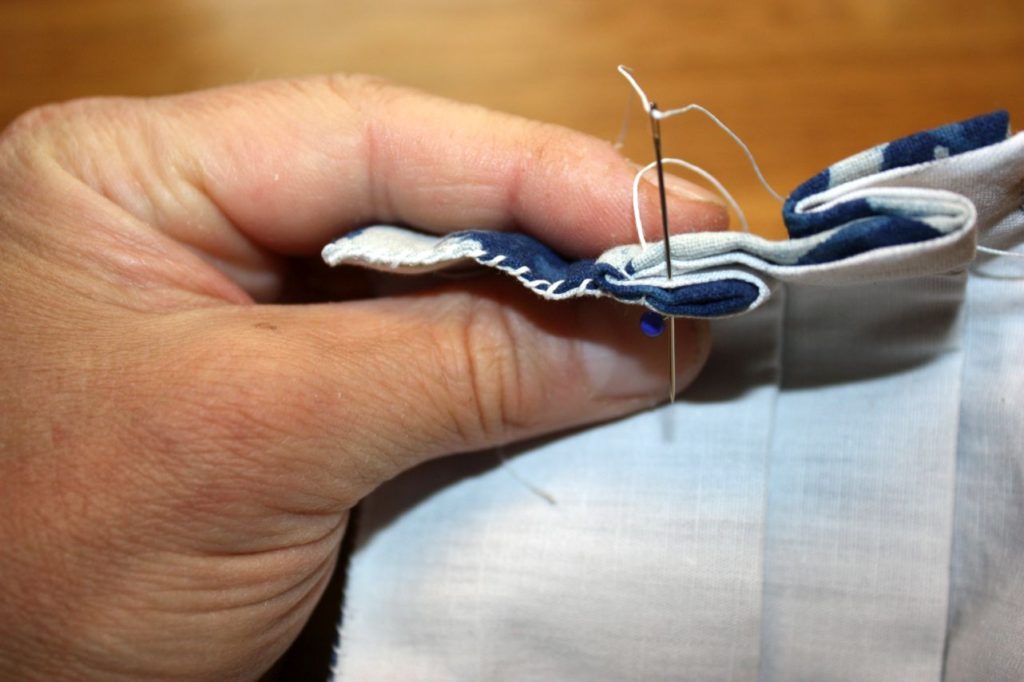 The wonderful Viborg seam again! I'm going over the first two layers on purpose in this instance.
Final step: the attachment points. There's several different ways to hold a mask to one's head, the simplest of which is elastic loops that are pulled over the ears. That's something I don't find too comfy. Instead, I made loops that are a bit longer from proper ribbon; these, in turn, get equipped with a bit of elastic that closes at the back of the head, either with a tiny quick-release buckle or some other type of fastening; in this case, with a sturdy press stud. Because I was lazy, it closes on one of the ribbon loops instead of in the middle (which would have meant one more bit of sewing...)
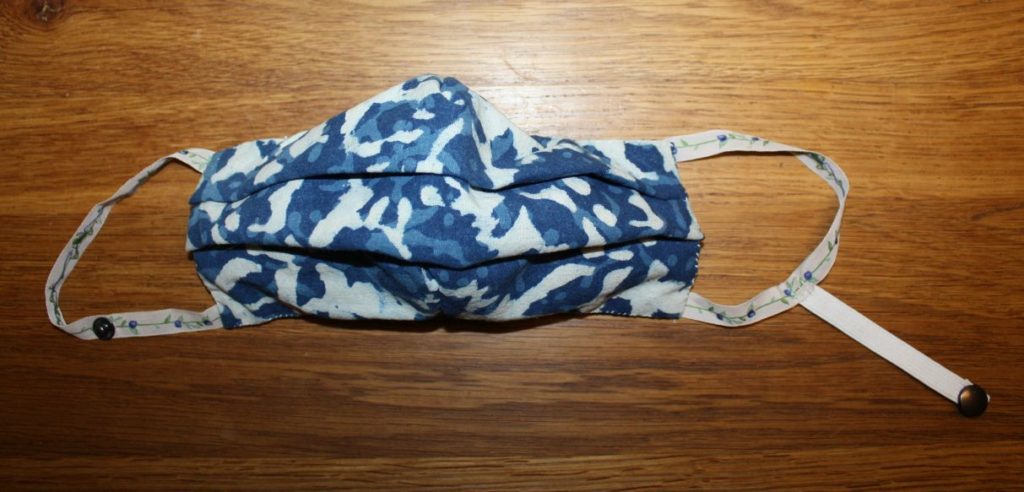
Finished!
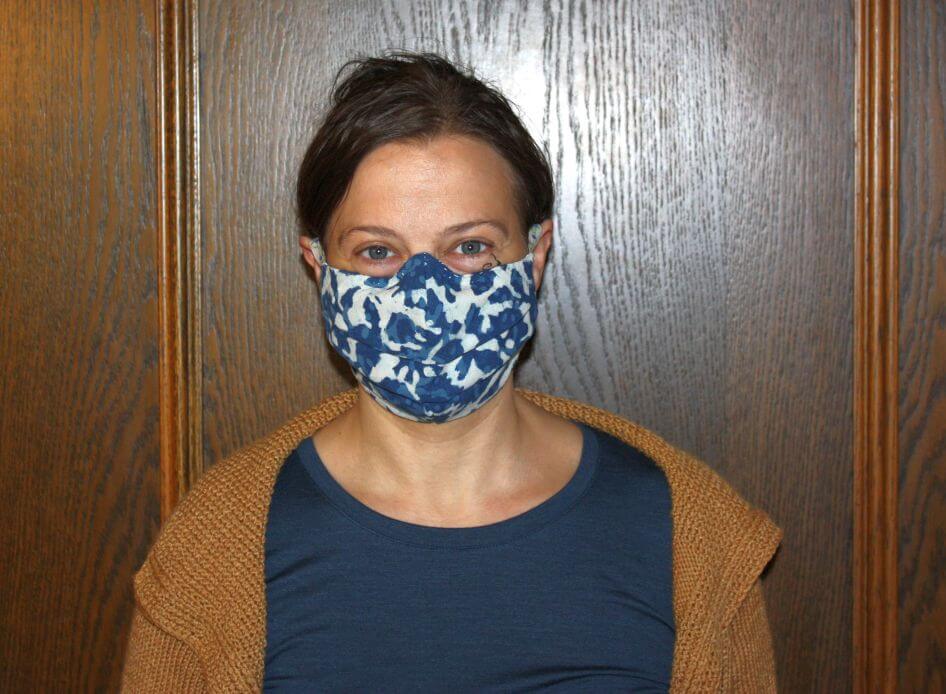
And here's the side view:
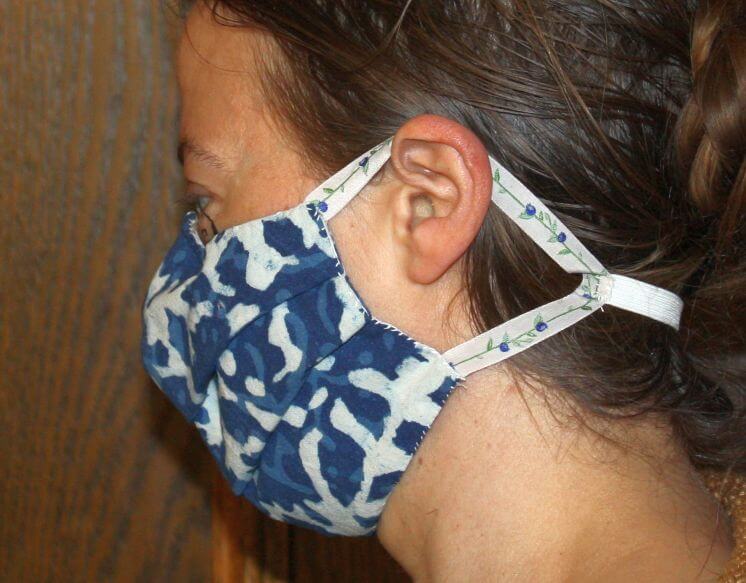
It fits well, it's rather comfy to wear, and the extra fabric integrated through the folds means a considerable plus of surface area. That gives us the impression of making breathing a bit easier, as there's more space to suck air through. It will definitely make the mask stay dry-ish for longer, too (more fabric means more capacity for taking up moisture before the mask is too wet for practical purposes, and also more surface area for evaporation).
We've tried them out on the bicycle, and while riding without a mask is still much nicer, it went surprisingly well. The good fit of the upper part means no or almost no steaming up of glasses even when waiting at traffic lights, and impact on breathing is mostly noticeable when going uphill. So definitely a use-able pattern for us.
First of all, top, bottom and side seams. This basically means folding under the seam allowances and stitching the seams. I opted for a running stitch along the top, and for a whipstitch along the bottom of the mask.
Before closing up the mask at the sides, the nose wire has to go in. I used two trash ties that I twisted together; in the first try, I had a strip of metal from a filing thing, and that was too wide for my facial anatomy, which means it tends to press down on my nose with one of its edges. Not very comfy.
[caption id="attachment_5253" align="alignnone" width="640"]
Two trash ties...[caption id="attachment_5252" align="alignnone" width="640"]
...twisted together...[caption id="attachment_5251" align="alignnone" width="640"]
...and stuck into the mask at the nose part.Getting the nose wire in is, again, a little fiddly. It also helps to not work the nose part seam from the very edge of the mask, like I did, because then there's no space to fit the wire... unless you take out a few stitches again. (Which is what I did. Obviously.)
I fiddle around until the wire is where it is supposed to be, then press it into the edge seam and stitch right below it.
For the sides, where the edges got folded under and then stitched together, I used the Viborg variant again. Another way would be to leave a wider seam allowance for the outer fabric, fold the lining allowance under, stitch a line to fix that and the folds, and then work the extra outer fabric into a tunnel for a strap.
[caption id="attachment_5250" align="alignnone" width="640"]
Starting the side seam - folding the edges to the inside, and then folding the folds up again.[caption id="attachment_5249" align="alignnone" width="640"]
The wonderful Viborg seam again! I'm going over the first two layers on purpose in this instance.Final step: the attachment points. There's several different ways to hold a mask to one's head, the simplest of which is elastic loops that are pulled over the ears. That's something I don't find too comfy. Instead, I made loops that are a bit longer from proper ribbon; these, in turn, get equipped with a bit of elastic that closes at the back of the head, either with a tiny quick-release buckle or some other type of fastening; in this case, with a sturdy press stud. Because I was lazy, it closes on one of the ribbon loops instead of in the middle (which would have meant one more bit of sewing...)
Finished!
And here's the side view:
It fits well, it's rather comfy to wear, and the extra fabric integrated through the folds means a considerable plus of surface area. That gives us the impression of making breathing a bit easier, as there's more space to suck air through. It will definitely make the mask stay dry-ish for longer, too (more fabric means more capacity for taking up moisture before the mask is too wet for practical purposes, and also more surface area for evaporation).
We've tried them out on the bicycle, and while riding without a mask is still much nicer, it went surprisingly well. The good fit of the upper part means no or almost no steaming up of glasses even when waiting at traffic lights, and impact on breathing is mostly noticeable when going uphill. So definitely a use-able pattern for us.
Comments
No comments made yet. Be the first to submit a comment