
Latest Comments

Guest - Aislinn Dyestuff Citizen Science.
09. Oktober 2026
This is a great project. I look forward to the results. Thanks for letting us know.
Guest - Aislinn Time for...
09. Oktober 2026
Looks delicious!
Guest - Katrin Sprang Discussion
18. September 2026
Hi Rachel, I have looked for more photos of you, but that was not very successful. I found a link on...
Guest - Beatrix Sprang Discussion
15. September 2026
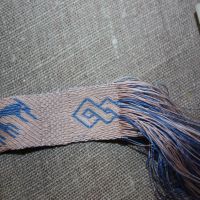
That lozenge pattern element is not a photograph, but a scan. So it should be to scale. But I pinned...
Guest - Katrin Sprang Discussion
15. September 2026
I was not referring to Rachel's reconstruction (is the reconstruction you refer to the one photograp...
DEZ.
12
2

Faking it, Part Two.

So let's say you need to have a starting border on a fabric that doesn't have one.

Traditionally, you have the two obvious usual suspects for doing this: rigid heddle weaving or tablet weaving. In both cases for the Bernuthsfeld Project where we were lacking a starting border, the originals had a rigid heddle border.

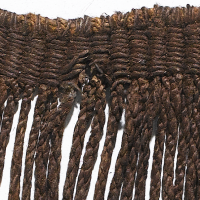
So for faking a border, you set up the warp of your band just like you would for a normal band - the necessary length plus a bit more for the loss of yarn at start and end. Then you take the edge of your finished fabric and make sure that there is a warp fringe long enough to go through the width of your band twice, plus a little extra to grab. How much of a little extra you need depends on your fingers and your love of fiddlyness.

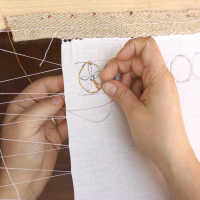
You weave a few picks to get a proper start to the band, with a normal weft thread, and then you start using the warp fringe as weft. For this, you pull one warp through the shed so it sticks out of the band at the far side of the fabric, change shed, and go back towards the fabric with the same warp. Into that same shed, you also put the next warp thread in line so that it sticks out at the far side of the fabric. Repeat ad nauseam, or until you reach the other edge of your fabric, and take care not to switch warp threads or miss some. It's not difficult to do, but it is fiddly, and it is time-consuming - as you can see on this video:


You will also have to pay close attention to the growth rate of your band (in length) as compared to the spacing of your warp threads - and here is where the difference between the fake and the real really comes in.

When you make a real starting border, you have two ends going through each shed, as you do with the fake starting border. However, both ends in each shed in the real border are functional warp ends of the main fabric - in contrast to one functional warp end in the faked border, which is accompanied by its colleague going back. So you effectively have to fit double the amount of weft threads into the length of the band if you're doing a fake border.

Can you smell the problem already? If you use a band warp yarn that is as thick as the original starting border warp yarn, the distance between your sheds will be large enough to spread the band out way too much in the faked border. You will have to remedy this by occasionally placing two or more live warp ends into a single shed. This is the way I did the starting border for one of the leg wrap edges:

startingborder_legwraps2

This is not nice to weave, and the slightly too high spread is still visible. You can also see a tiny hint of the trimmed fringe that is left underneath the border - a telltale sign that it is a faked one.

The alternative is choosing a warp for the starting border that is a lot thinner than it would be in the original. This reduces the distance between sheds along the band, so you can fit all your warp threads one by one into the band. This is the solution I chose for the border faking shown in the video, as the border was much longer. Obviously, using thinner threads also means a narrower border, so you'll have to use more warp ends for the starting border to get it a similar width as the original.

In both cases, you might be able to see a hint of the fringe sticking out of the band. So if you're looking at a replica fabric, or a reconstruction, and it has a starting border - fibre ends sticking out between border and fabric will tell you it's a faked one. If you cannot see fibre ends, look at the thickness of the starting border threads; if they are significantly thinner than the yarn of the main fabric, it's probably also a faked one. It's definitely also fake if the yarns are similar in thickness to the main fabric warp, but there are more than two ends in individual sheds. All that is assuming you can get close enough to the piece, of course!
0
DEZ.
11
0

Compromises, or: Faking it (as you do).

As I've mentioned a while before, there's no such thing as the perfect textile replica. Well, theoretically, there might be - but really getting it all perfect, down to the fibre and thread and exact measurements? That would mean a truly insane amount of test runs and effort and time and material and money.

So whenever there's a reconstruction, there is usually also some compromising being done. Part of that can be due to time restrictions, or budget restrictions, or technical issues. One of the typical compromises are the changes made to a fabric because of the available looms. There's a difference between how different types of loom work (obviously), but I've recently been told by a weaver that from her own experience and that of others, even small differences between looms will result in different fabrics, as they may or may not work with a certain amount of tension, or may be more or less harsh on the threads.

One of the main issues, though, is the fact that when you weave on a horizontal loom, you have no starting border. (It can, technically, be done. It just makes little sense if you do the normal way of setup on that loom. I've met one lady once who does use a starting border on the horizontal loom, but she's the exception to the rule.) Starting borders are, however, a pretty common feature if you use the warp-weighted loom, as they make total sense when setting up your warp here.

For those of you who are confused now - a starting border is a woven band forming the top (starting) edge of your warp. Think of it as a band with a gigantonormous fringe at one side - that fringe is the warp of your main fabric. The starting border secures your warp threads and spaces them out evenly, two invaluable things when you are setting up the loom.

So if you want to replicate a fabric made on the warp-weighted loom that includes a starting border, there's two possibilities. Obviously, you can find a very competent and willing weaver with a warp-weighted loom and get the fabric done as it originally was, with the starting border and all. Alternatively, have the weaver make a starting border and weave it on a horizontal loom. However, finding weavers willing to do just that is not the easiest of tasks - and you might, again, run into budget and time restrictions.

The other possibility? Get the fabric woven on a horizontal loom, without a starting border, then fake one afterwards. This is, admittedly, only the second best solution, as the faking it will be blatantly obvious to every weaving geek looking closely - but then, it will probably only be blatantly obvious to those. There's a difference between a faked and a real starting border, and it is due to technical reasons.

If you make a real starting border, you weave a band. As the weft for the band, you pull loops of yarn through each shed - this will form your main warp. You have your yarn ball or cone on one side of the band and the warping aid (such as posts) to the other side. So the sequence is: Change shed, pull loop through and around your warping aid, change shed, pull next loop through.

This means there are two threads running through each shed, both of them turning into warp threads.

Next post: How you fake a starting border, and the difference this makes.
0
DEZ.
08
1

Looking for ideas?

It's the season of people looking for ideas - things to give to others, things to wish for. So in case you're one of the many, many folks on search of good ideas, here are three things - all of them related to tablet weaving, and all of them guaranteed not to catch dust:

If you're interested in tablet weaving, especially in the brocaded kind, you have probably heard about the book "Ecclesiastical Pomp and Aristocratic Circumstance". It's a nice collection of tablet-woven bands, even though there's not a lot of images of the original pieces in the book. It appears that this has gone out of print, but it's now available as a pdf download from Nancy Spies' Etsy shop. At 12 USD, it's also quite affordable!

The same thing has happened to Anna Neuper's Modelbuch, also originally published as a paper book, also out of print and now available as pdf. In this case, you have to invest 5 USD.

Louise Ström has written a booklet about how to do tablet-woven patterns without a pattern draft. The motifs are fairly traditional Scandinavian ones, where you have variations in each pattern section, resulting in a band with non-repeating (though similar) motifs. This, too, is available as a pdf download via Etsy and will cost you about 18 USD.

Disclaimer: I do own the paper version of Pomp & Circumstance, but know neither of the two other books. They have ended up on my list, though...

Oh, and by the way - it's Blogiversary today! Nine years of blogging!
0
DEZ.
07
0

Ridiculous amounts of fun.

Some days, I love my work so much that it borders on the ridiculous... and today (well, yesterday, when you are reading this) is one of them. Definitely.

I'm still working on the Bernuthsfeld tunic reconstruction, and let me tell you: it is utterly interesting, and oodles of fun. It also involves lots of needles and lots of looking at photographs, and a good bit of joy about how the different fabrics all come together into a potpourri of patches.

Piece by piece, the thing is growing. I've started working on it in the back, where there was a fairly good place to get going, with obvious placements of pieces, straightforward seams and not much guesswork or missing pieces. By now, the back is almost complete, the front is almost complete, and I'm getting towards the juicy bits where some actual reconstruction and guesswork are needed.

The process, in principle, is this:

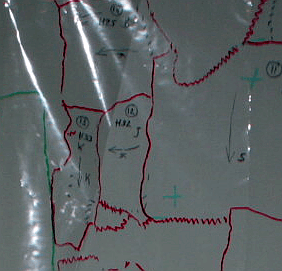
We've taken the outlines of the patches directly from the original, using marker pens on a thin foil, noting the direction of warp threads and making lists of fabrics, sewing threads, seam details and other potentially important bits. Those foil drawings were then turned into paper pattern pieces for each patch, and those served to mark and cut out the fabric bits.

Then there's the list saying which patch lies on top of which, and whether it's a light or a dark sewing thread. There's photos to check for details on the seams, and on how the borders between the pieces look. I also try to catch any unusual stitching in the photo check and, if possible, recreate it.

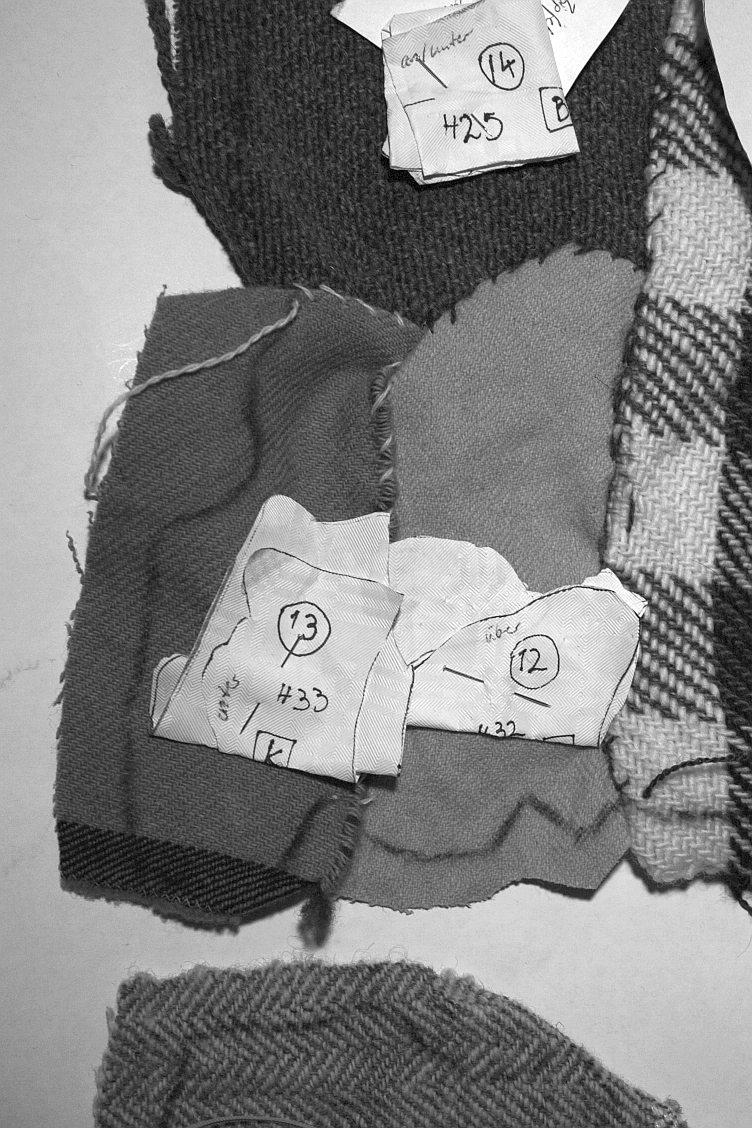
Here's an example - pieces 12-14, sewn to the side of piece 11 (which is the large checkered breast patch in the front of the tunic). The foil overview of this part looks like this:

folie_12-14

which leads to something like this:

12-14_reko

The pieces are put into their places, held with pins, and then sewn together according to the lists. I mark them with charcoal or chalk, since these markings will come out easily once it is all finished. I also pin the pattern papers to them for quick and easy reference until every seam around the piece is finished - then the paper goes to the "finished!" stack.

(Yes, this is a black-and-white picture - you're not getting the colours before the museum people do. Sorry.)

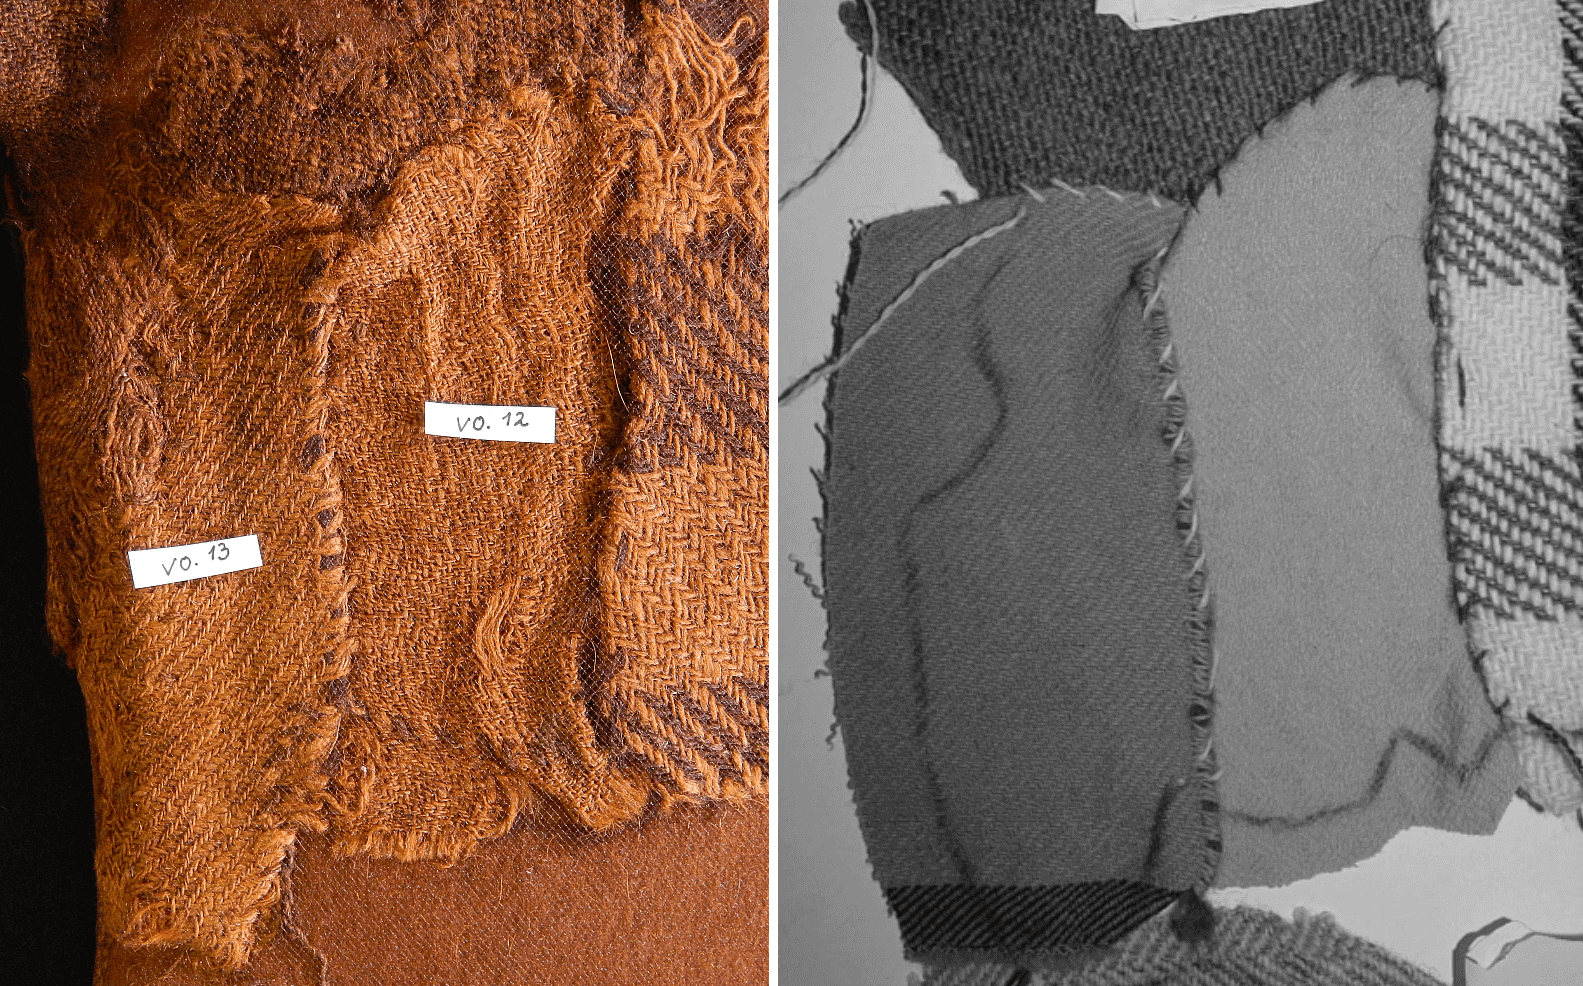
and here are the original and the reconstruction in comparison:

12-14_compar

You can see that it's close, but not perfect - part of that being due to the very different state the individual fabrics are in, ours not worn at all (yet!) and the original having quite worn fabrics. You can also see the wonderful job our weaver did, down to recreating the weird selvedge with multiple threads in it on no. 13.

And I never thought I'd do patchwork one day!
0
DEZ.
06
0

Linzer Plätzchen.

There's a few recipes left that are among my usual candidates for the seasonal baking that I haven't shared with you yet - so this year, you are getting the Linzer Plätzchen. These have only been part of the selection for a few years now, but have become one of my firm favourites.

They are egg-free, slightly nutty, slightly spiced and I like them best with raspberry jam filling that still has the little kernels in, as it somehow feels more like proper raspberry for me then (even though it means that a kernel might get stuck between teeth now and then).

So here you go:

250 g butter
100 g powdered sugar
300 g flour
200 g hazelnuts, ground (I use medium-coarse ones)
2 teaspoons cinnamon, ground
about half a teaspoon each of powdered cardamom and cloves (the German measurement is "je 2 Messerspitzen", which is twice a small heap of powder on the tip of a knife)
2 tablespoons cocoa

raspberry jam for the filling

Soften the butter and stir in the powdered sugar until creamy, then knead the remaining ingredients into the mix. Set into a cool place for a while to rest.
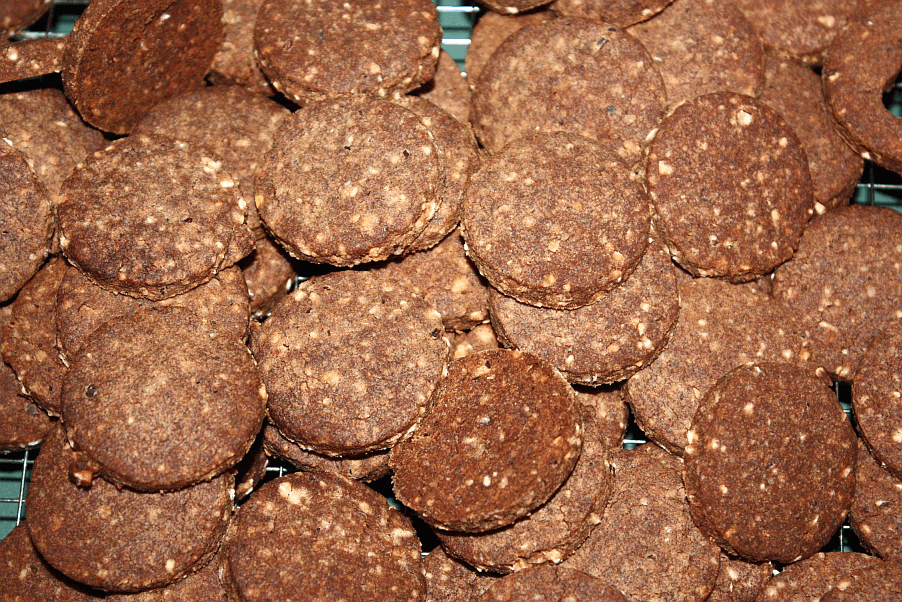
Knead the cold dough until malleable again. Roll out between sheets of foil (I use silicone baking mats for this, as they are re-usable and cause no extra plastic waste) to about 3-4 mm thickness, then cut out cookies. Bake at about 170-180° C for about 8 minutes, taking care that they don't turn too dark.

linzer_halb

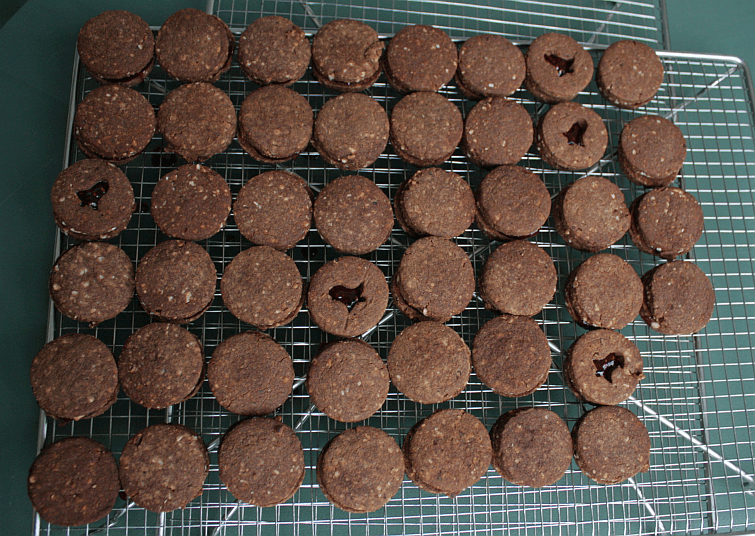
After they have cooled off, glue them together with a generous dollop of raspberry jam. Makes about 45 cookies.

linzer_fertig

Happy baking!

The other seasonal recipes that I blogged in the past are:
0
DEZ.
05
0

Silvery stuff.

It's December, and I am thoroughly enjoying it. I spent the weekend doing fun things with friends - which included a workshop in enamelling on silver clay jewellery, two things I've itched to do for years now.

It was... interesting. Years ago, I had lots of fun with doing Fimo stuff, including really fine, intricate and delicate things. I've also done stuff with normal clay, but I've never used silver clay before - which is, basically, real silver, powdered and mixed with a water-based organic binding agent so you can shape it much like clay. It also looks like it - a light grey colour. Very, very unspectacular. Not much like clay, though, it costs a shitload of money - a bit more than 3 € per gram of clay. Working with it includes oiling up your hands and work surfaces to prevent it from sticking, and rolling it out into sheets, and cutting and stamping it - so it is a little bit like baking cookies, only in much more expensive.

Much like clay, the stuff dries out quite quickly, especially if you are working with fine stuff. Which you tend to do, obviously, when doing jewellery... so I was sort of medium successful only in getting done what I wanted to do. Still, I went home with three pieces that I'm quite happy with, and one that I will just sort of write off as my trial piece.

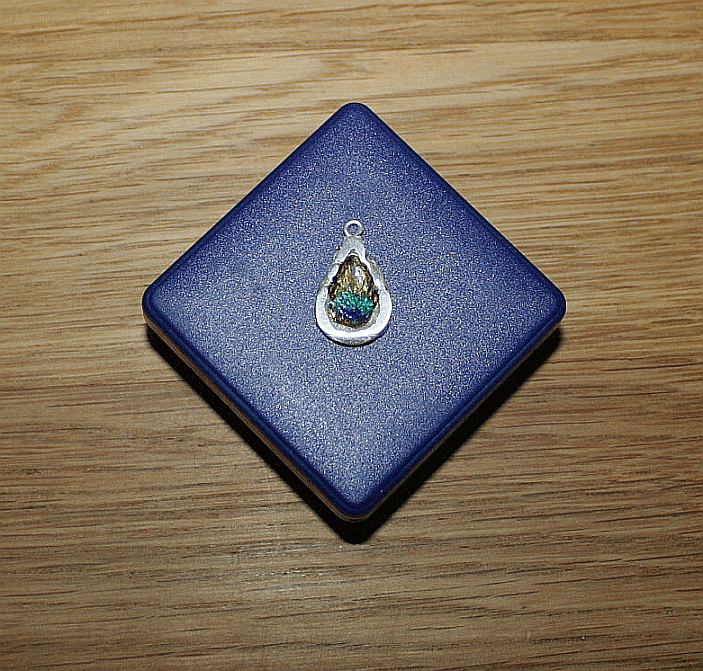
anhaenger

I might actually do something like this again. With more of a grasp on the material, though, and perhaps a little better plan... and, if I can, lowered expectations. Lowered expectations can be a really good idea at the start!
0
DEZ.
04
0

Monday! Again!

I can't believe it's already December! I can easily believe it's already Monday again, though. These pesky starts-of-the-week keep coming with irritating regularity, somehow...

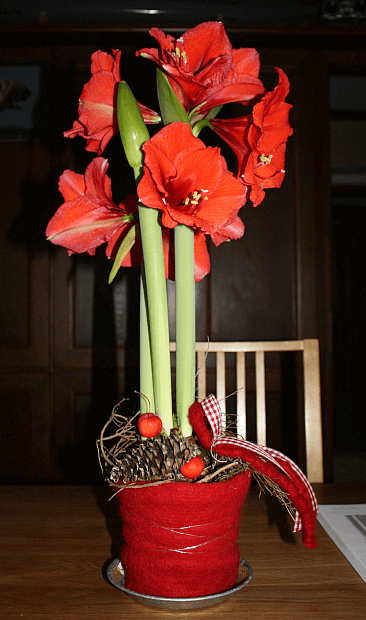
So in case you, too, are suffering from oh-no-it's-Monday-can't-it-be-Saturday-still-itis, here's a consolatory flower picture for you:

amaryllis

...and I hope you have a successful Monday!
0

By accepting you will be accessing a service provided by a third-party external to https://www.pallia.net/

Kontakt