
Latest Comments

Guest - Aislinn Dyestuff Citizen Science.
09. Oktober 2026
This is a great project. I look forward to the results. Thanks for letting us know.
Guest - Aislinn Time for...
09. Oktober 2026
Looks delicious!
Guest - Katrin Sprang Discussion
18. September 2026
Hi Rachel, I have looked for more photos of you, but that was not very successful. I found a link on...
Guest - Beatrix Sprang Discussion
15. September 2026
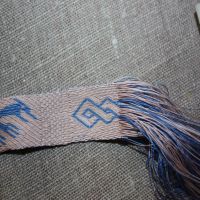
That lozenge pattern element is not a photograph, but a scan. So it should be to scale. But I pinned...
Guest - Katrin Sprang Discussion
15. September 2026
I was not referring to Rachel's reconstruction (is the reconstruction you refer to the one photograp...
APR.
22
0

Dag it, baby, one more time...

As I wrote Tuesday last week, I'm into sealing cut edges with wax now.

Yesterday, my brand new (and infernally sharp) pinking tool arrived. (Well, I call it a pinking tool. It disguises itself, though, as a woodcarving implement and hides in woodworking catalogues. But I found it nonetheless!)

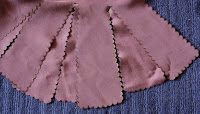
I set to work pinking the dagges on a hood. The cloth is heavy silk, dyed a beautiful purple with natural colours. Pinking dagges is fun, and the tool will bite easily through several layers of the cloth at once, but it sure pays to work carefully. That will save a lot of snipping off missed threads afterwards and re-pinking missed spots.

After doing the dagges, I set to work with the wax. What I want is a nice contour of molten wax along the edge of the cloth, hot enough to go into the fabric a bit (to make sure the edge is conserved) but not so hot that it will actually be visible on the outside of the piece. As you can probably imagine, the margin between "too cold" and "too hot" is very slim - so slim that it makes a huge difference whether the tjanting is full or half-empty, even if it is a very small one. With these low temperatures, flow in the tjanting might become obstructed by cooling wax, so there is also a rather big variation in how much wax comes out, and how quickly. While this method is a lot faster and much more reliable than the molten-wax-on-copper-plate method, it demands full concentration and a good sense for when the whole shedoodle is the right temperature (or lots of testing, which is much easier for the beginning). Maybe there is a better method to do this. Maybe there's even a description on how to do it somewhere out there... if you know of one, please share!

I finished the dagges on the hood cape yesterday, including the waxing, and I finished pinking almost all the dagging for the liripipe, so there's some more waxing on today's agenda. This is how the finished and waxed dagges look:

click for larger view


I rather like the look of it.

Oh, and on an aside: Dyeing the fabric seems to have done something for the shine on the not-so-shiny side of the fabric, and I didn't expect that at all. The photos, of course, don't do the colour justice.
0
APR.
21
0

Preparing for the Weekend

There are still a lot of things left to do, and to add to the scarcity of time and the amount of things to do, I have to do a library run this week.
Today's the day to write a list with all the stuff I will take for the weekend and try getting some more sewing done - yesterday I got stuck at the computer all the time. One of the reasons was that the info-brochure for the Textilforum was due to go to the printer. It's finished now, I hope I didn't miss any errors in the proofing process, and I hope that the colours will turn out acceptably.

As current working projects, I have the dress, the hairnet, a hood that I can't continue working on at the moment since I am waiting for a pinking tool to arrive, and I started a tablet weave play band, contrary to all good intentions (but using as an excuse that I'm preparing a workshop on tablet weaving). There's stuff coming towards me by post - not only the brochures, but also yarns and the pinking tool, so I'm in a state of happy anticipation. And hope I can finish today's computer work before noon, so I can sit in the sun and sew...
0
APR.
20
2

Hairnet, current status

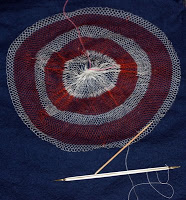
Here's a picture of the current status of the hairnet I'm working on. Only about three centimeters left to net, hooray!

Picture clickable for larger view


As you can possibly see (the photos are not that good), the net is worked in a spiral. The spiralling approach has its advantages, but also a fair share of disadvantages, in my opinon.
I like the fact that, when spiralling, you can just go on and on with netting. Once the spiral is properly established, there is no need to fiddle with the mesh size for the transit into the next row, there are no double threads or new knottings-in for this transition, just netting same size endlessly.
What I don't like is that you will get distortions in the first few rows, until the spiral is smoothed out. That can be achieved either by slowly lengthening the cast-on loops so that the first normal-sized meshes don't stick out so much, or by fiddling a bit with the mesh size in the first rows. And the finish of the net is, of course, also a spiral and will need some more fiddling to look smooth and well-rounded.
Spiral netting is also not too well suited to colour changes in the netting - exactly what I did in this piece, just because I felt like using two colours. Where the colour change is, you always get an abrupt change in one of the percieved "rows", and I think it looks a bit sloppy, or disorganized. It is technically not possible to change this when working spirals; there is no sudden change in one row when working circular. So for multicoloured nets, circular might be better.
And the last thing I don't like now that I'm nearing the end: There are no rows, and hence, there is no feeling of accomplishment on finishing a row. What can be seen as an asset of spiral netting - not needing to transit between rows - can feel tedious. I know that I need about 6 or 7 more rounds in the spiral, but it is awfully hard to keep track how much I have netted in one session.

Taking all this together, I personally feel that netting in the circular would be more appropriate for what I'm trying to get, while netting in the spiral might be the best way for a beginner to make a nice practice piece, only needing to concentrate on the act of netting nice even meshes. Therèse de Dillmont doesn't give instructions for spiral netting; her circular netting "recipe" says to knot in anew for every next row.

After this last stint of spiral netting, I'm not so sure whether it was used as an approach for net-making in the middle ages. It would be interesting to look at some of the extant nets in detail to see whether there is a shortened transit mesh or new knotting in of the thread for the next row, or if there are actually nets worked in the spiral.

The last picture shows the size of the meshes in the net, with the net laid out on a normal 5 mm grid paper. Sorry for the bad quality of the picture.


You can see that the mesh size is approximately 4 mm. I think this is a nice size, still easy to work with a fairly sturdy netting needle, within the size spectrum of medieval hairnets and not so small-meshed that it would take ages to do it. However, netting is not a fast craft, and even with this mesh size, it will take its time. Practice speeds the knotting a bit, but there's a limit to how fast your hands can go. I'll give the exact time needed when I'm all finished with the net, but by now it has taken more than 25 hours.
0
APR.
17
2

Herjolfsnæs Patterns

Via the MEDTC-List I wrote about in January, I learned yesterday that a new book about medieval garments will come out in December.

Many of you probably know "Woven Into the Earth: Textile Finds in Norse Greenland" by Else Østergaard. She has worked about the Herjolfsnæs garments and published results and photos of the garments in said volume. There are, however, no patterns in that book.

When I last met her, she told me that she was working on a book with all the patterns. And now it seems to be finished - or at least far enough progressed that there's a publisher and a publication date. The new book will come out in Danish and in English:

The Danish title is "Nordbomønstre - dragtsnit fra middelalderen". The English title is "Medieval Garments Reconstructed: Norse Clothing Patterns." The book deals with garments from about 1200 to 1500; the oldest Herjolfsnæs garment is radiocarbon dated to the 13th century.
Due out in December 2009, Aarhus University Press, Denmark.

The book can be pre-ordered both in Europe and in the US. In Europe, go to the contact form on the publisher's website and mail your pre-order request. For those living beyond the pond, you can pre-order via David Brown books. Don't get confused by the slightly different title there, no Viking patterns are in the book.

My preorder is already off. Hooray for a new book for the personal library! Now... where do I squeeze in another shelf?
0
APR.
16
5

Season Start is drawing near!

The start of the season for market events et cetera is drawing near. There's still a bunch of things to take care of and organise, there's some additional stuff to do that came in during the last weeks, but at the moment it feels as if it will all come together just in time - maybe not perfectly, but well enough.

I have finished a hood yesterday, there's a dress all cut and lying ready for stitching together, and even the hairnet is progressing nicely. There is a piece of nicely purple silk lying in the living room, ready to be cut and transformed in something flashy and showoff. The threads for another hairnet project have arrived, and I'll have to find out whether I can carry out my vision/plan for this. In addition to all that, I have finally designed a 3/1 twill tablet weave pattern to weave a belt and already prepared the tablets for the weaving - I use playing cards, cut into squares, because they are conveniently small and slim. It's been ages since I last did twill on tablets, and I'm really looking forward to it. I'd love to do another play-band some time, but it doesn't look as if that will occur during the next months. So it's all pretty busy here, but nice-busy, and I'm in a really good mood today.
0
APR.
15
2

Measuring Tape revisited

In a comment to the measuring tape post, Piia linked two pictures from Tacuinum Sanitatis, both featuring an ell stick lying around in a tailoring workshop.

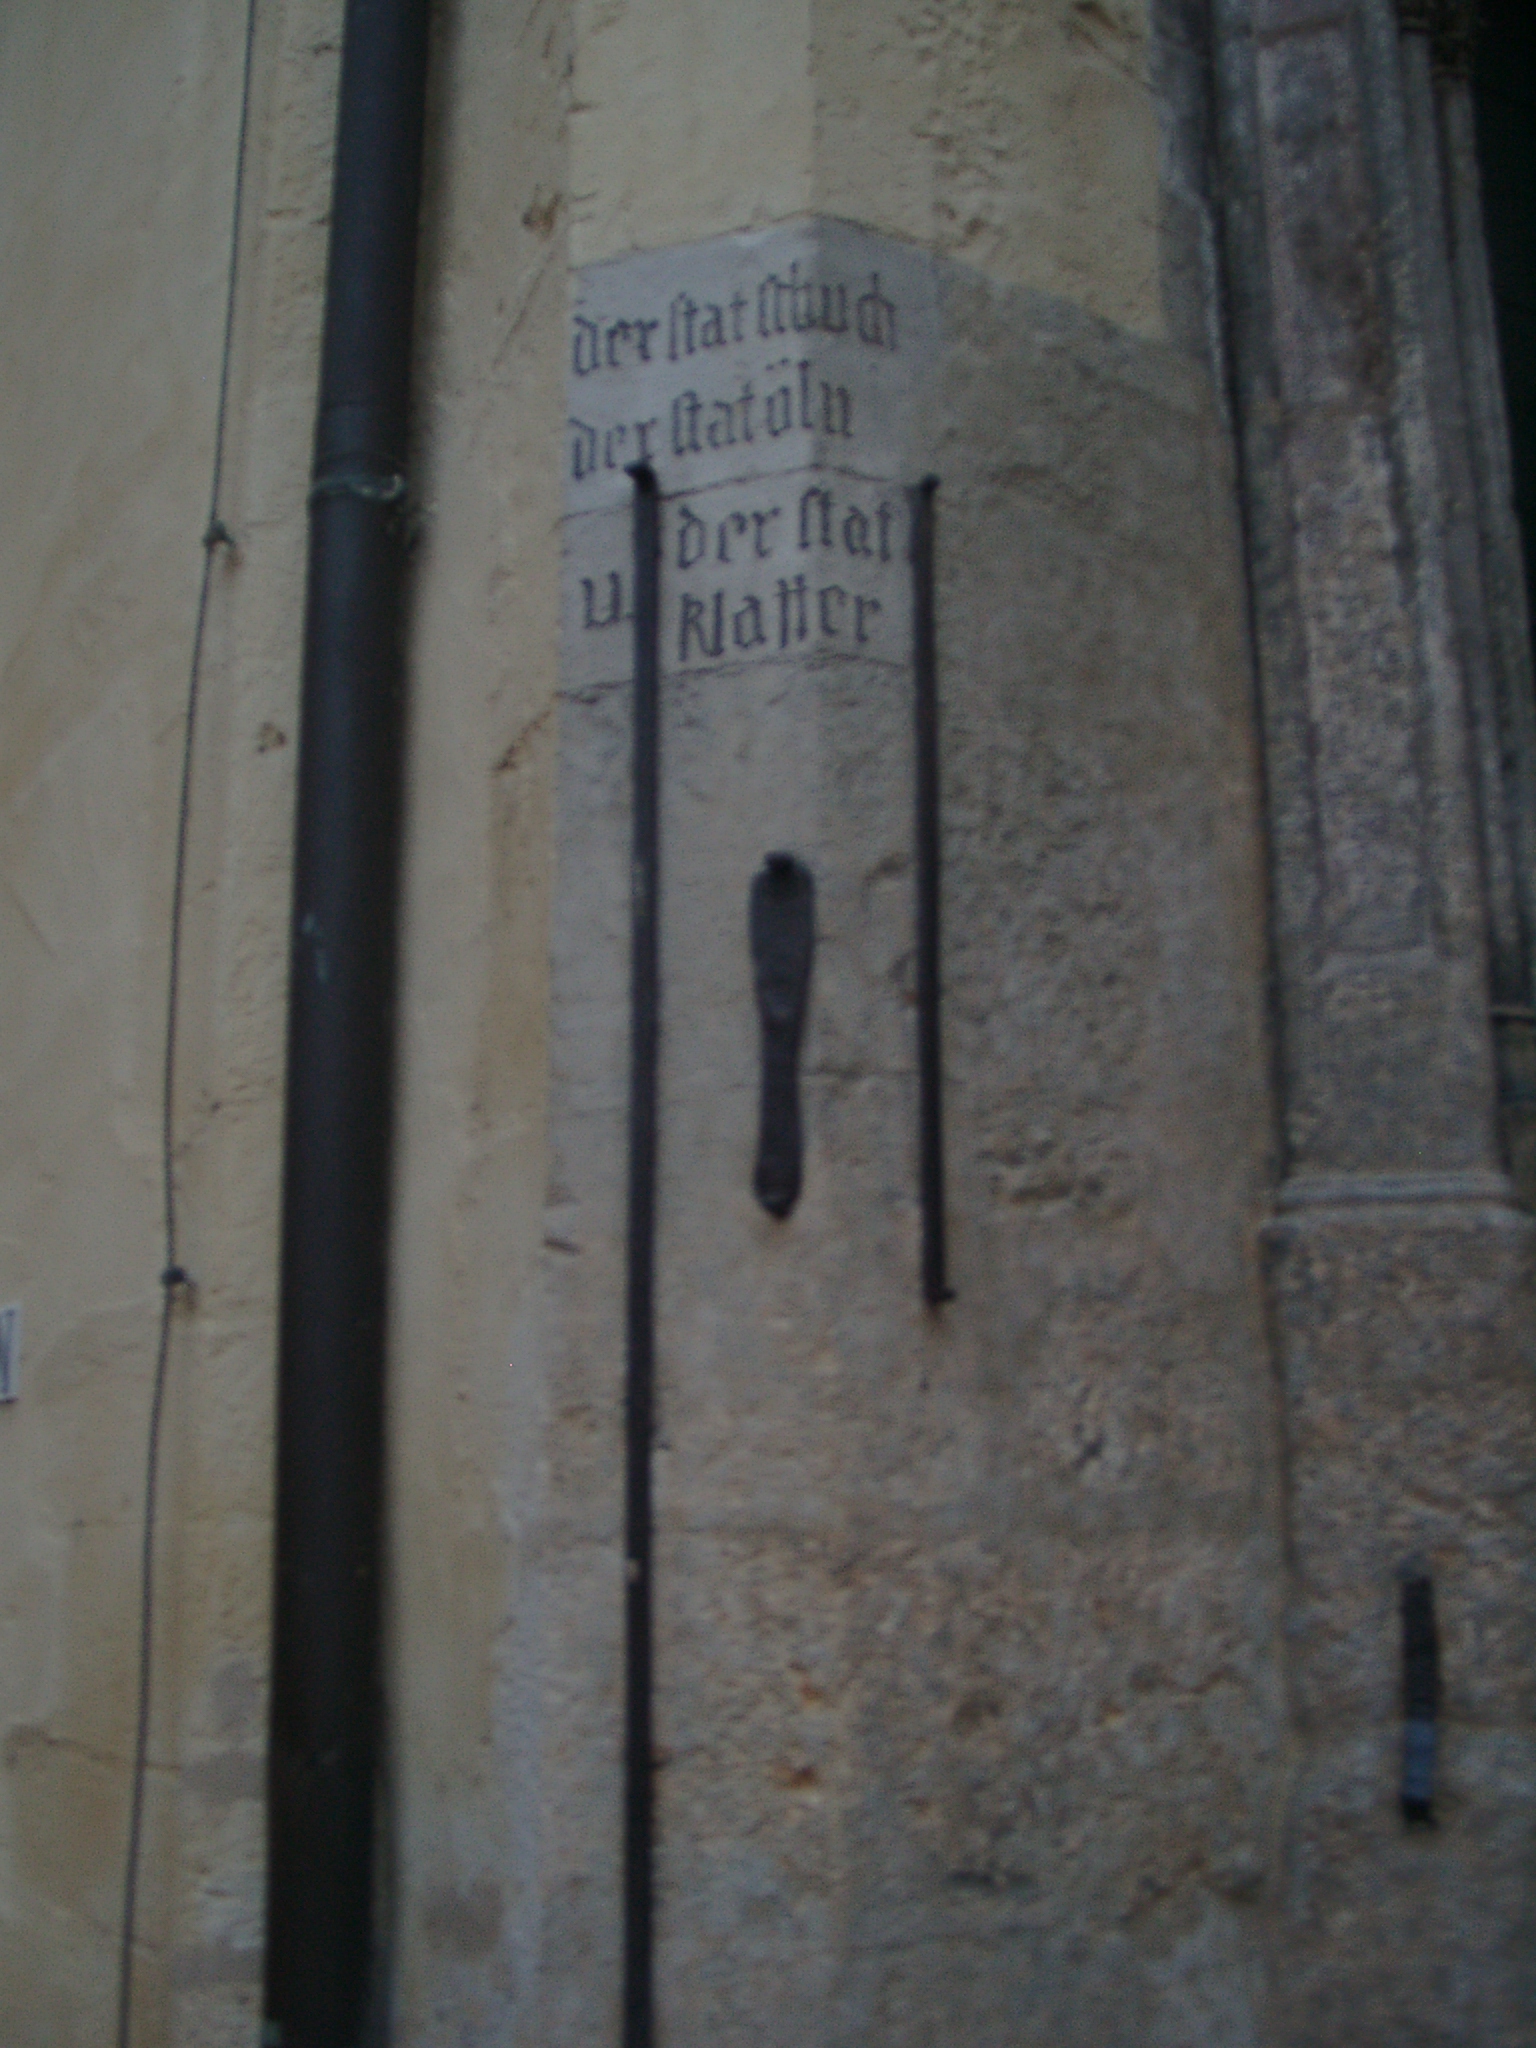
Measuring sticks like these are still in use today for measuring the cloth off the bolts. The "ells" that are the basic unit for these measuring sticks are in some cases still marked out on a medieval church wall or the town hall, since the exact length of the ell could differ from region to region.

Regensburg ell, foot and fathom. Photo by Klaus Graf, via Wikipedia.

An ell stick would be easy to make: Take a suitable piece of wood, walk out to the town hall and mark the length of the local ell on your stick. Use this for measuring cloth - it is very handy. You could, of course, bring a piece of string instead of a piece of wood and mark the ell on the string, but for measuring out a piece of fabric to cut from a bolt, the ell stick beats the string hands down - much faster and easier to use. Plus you won't get a knot into the stick by accident.

There is no scarcity of evidence that cloth was measured in ells, and it is pretty logical that the ell would be divided into half, quarter ell etcetera. The markings on the ell stick of one of the pictures linked by Piia look to me like they might mark eigths of an ell. But that does not mean it is similar to a modern scaled measuring tape.

One difference between the ell stick, maybe divided up in half, quarters etcetera and a cm- or inch-scaled tape are the starting units. With the measuring stick, you'd start with the ell as base unit, while a modern tape uses inch or cm. The small modern units are just counted up and up - 25 inch, 135 cm - while the larger ell as base unit gets divided. However, there is a limit to how much dividing is useful. Half an ell? Surely. Quarter? Yes. Eighth of an ell? Will still work. A sixteenth? Hmm... that is already getting pretty small, and quite hard to count. But with a thirtytwoth of an ell, at the latest, your stick is going to have so many markings that it will be not too easy to handle anymore. And such small unit divisions might not be necessary - after all, when you buy cloth in a modern store, you usually buy in half meter increments. If you'd need really small units, you could switch to inches (or "fingers" or whatever is in use in your region) and have a conversion into ells, like feet make a yard and inch make a foot in the British measuring system.

Today, we have a centimeter or inch scale, with the unit meaning the same everywhere - so if I tell you "24 inch", you know exactly how long my thing is. This - together with high-precision printing and plastic materials - makes it easy to produce measuring tapes suitable for everybody and withstanding lots of use.

For the middle ages, this is not the case - there is no common unit of the same length everywhere. So if I told you "one ell", that could mean anything between about 40 cm and more than one metre, depending on what ell I'd use (though most are somewhere between 45 and 70 cm in length). Add to that the fact that textile bands used for measuring might stretch over time, and the fact that taking a measurement and writing down the number is almost surely a very modern way of doing it: You could also mark the length measured on a string or band or strip of whatever else you are using for measuring each client, and then keep the marked-up string for using on your project and maybe for future reference. So there might not have been any need to make a measuring tape like we are relying on today.
0
APR.
14
0

Yummy Chocolate Easter Eggs!

I really enjoyed the Easter days - Yummy Chocolate eggs, all my family coming together, and glorious weather.

And some productivity, too: Good Friday was spent playing around with cloth in nice company. Sitting around doing strange things to textiles is just so much more fun when you're not alone in the room.

Since Friday was technically a day off, I found the time to play around with wax for sealing and securing cut edges. There are some hints that beeswax was used for this in the middle ages, and I've long wanted to give it a proper try. I did use wax twice before: Once on the kruseler I've made, and once more to seal dagges cut from fine silk cloth. I'm still not sure on how it was done in medieval times, though.

In those first tries, I applied the wax by rubbing some beeswax onto a relatively hot copper plate and then dipping the edge of the fabric into the molten wax. It was pretty hard to control how much wax would come in at once, and it took a rather long time, with uneven wax rims. But it worked, for the straight edges as well as for the oakleaf dagges.

I have recently acquired a tjanting, the Indonesian wax applicator for batik, and I have used that for my last wax application. It is a bit tricky to get the temperature just right (especially when the candle flame used to heat the tjanting is not too cooperative), but it was a lot more convenient than the copper-plate version. And now I'm wondering: In what extent was wax used to neaten and conserve cut edges? With what types of fabric, and in which cases? And how did they apply the wax back in the middle ages - is there a medieval European equivalent to the tjanting that was not yet identified, because nobody expects the Spanish Inquisition a wax application tool in a tailoring/silkworking context?
0

By accepting you will be accessing a service provided by a third-party external to https://www.pallia.net/

Kontakt