Latest Comments

Guest - Aislinn Dyestuff Citizen Science.
09. Oktober 2026
This is a great project. I look forward to the results. Thanks for letting us know.
Guest - Aislinn Time for...
09. Oktober 2026
Looks delicious!
Guest - Katrin Sprang Discussion
18. September 2026
Hi Rachel, I have looked for more photos of you, but that was not very successful. I found a link on...
Guest - Beatrix Sprang Discussion
15. September 2026
That lozenge pattern element is not a photograph, but a scan. So it should be to scale. But I pinned...
Guest - Katrin Sprang Discussion
15. September 2026
I was not referring to Rachel's reconstruction (is the reconstruction you refer to the one photograp...
JUNI
04
1

The Tandem Picture...

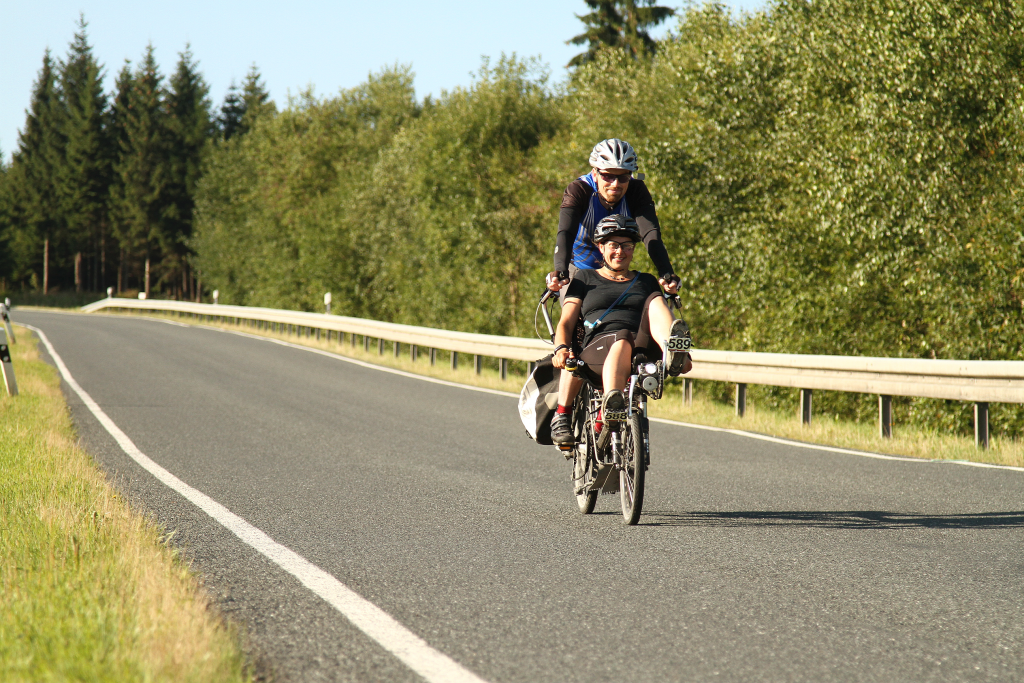
As requested via the comments, here's the picture of our tandem in action, with numbers stuck to the pedals...

numbered_feet

The picture was taken at the Frankenwald Radmarathon, which is an open cycling event with several different distance courses to ride. It's not a race, though some semi-pro cyclists use it as a training event. You pay a little fee and then you get starting numbers that you are supposed to fix to your handlebars (the small numbers) and to your own back. In our case, this needs a little adaptation: we fix the small numbers to the front pedals and the back numbers to Frieder's back and the back of the saddle, and then we're good to go.

It is basically an organised long tour where you get food stops along the way (necessary to re-fuel) and a lot of other people ride along with you on the same roads, all having fun and all pedaling hard. The several times we did the FRM, we were one of the few tandems going on this ride, and with our special kind of tandem the extra-odd one out - most of the participants ride normal single road bikes.

The FRM was skipped last year and this year due to construction works that were very much in the way of the usual course, but we hope there'll be another chance to do it in the future. It's exhausting, but a real lot of fun as well!
0
JUNI
01
0

My Knitting Library.

You might have noticed that I am actually ding more of the making fabric with sticks and string thing recently - and I thought that maybe you are interested in the knitting library I have. Which is... how shall I put it... rather minimalistic.

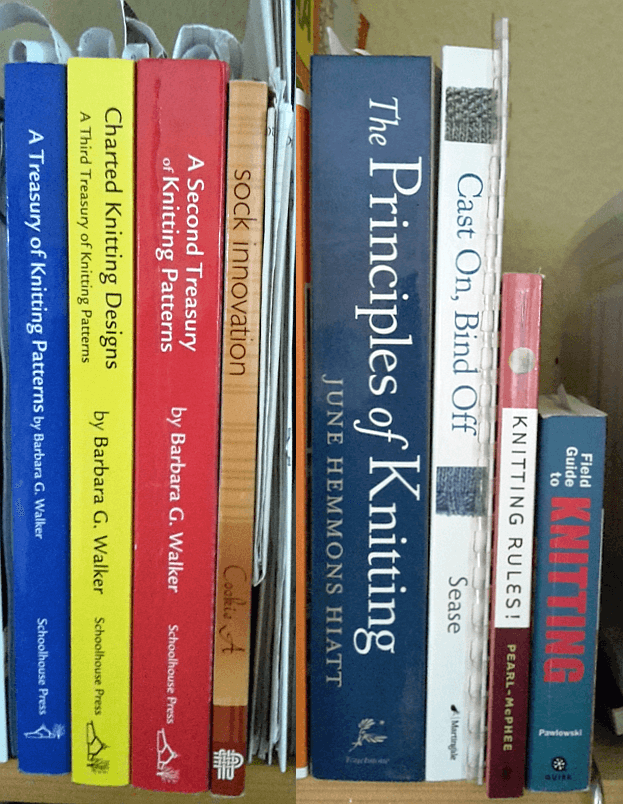
[caption id="attachment_3846" align="alignnone" width="461"]library That's it. That is my full knitting book library.


I like to look at knitting patterns, but I'm not a collector - so I'm not someone to buy a magazine just for the patterns. In fact, I leaf through them and usually think something along the lines of "oh, a basic sweater with lace pattern XYZ, aha, nice" or "ah, cabled socks, nice, cable soandso looks pretty in this yarn" - but then I sort of not want to knit it. Or I think that I'd probably fare better by taking a standard vanilla patterns for a sweater or socks (of which I know it will fit me) and modify that with lace pattern XYZ or cable pattern soandso. (I'm looking at food and recipe magazines the same way - I look at something and think "ah, variation on basic stew A" or "hm, standard cake batter with some extra spices thrown in" and that's it.)

So when I set out to assembly my knitting library, I knew what I wanted - also thanks to the first book in the assembly: Knitting Rules by Stephanie Pearl-McPhee. This is a wonderful book - it is fun to read and it's chock full of good, sane, sensible advice, tips and tricks. It has a very sane view on gauge swatches, for instance.  It's a lovely book, and I would recommend it to anyone who starts out to knit in a heartbeat.  It also advises to have a stitch dictionary and a basic knitting technique book in the knitting library.

Advice I took to heart - and got a small stitch dictionary, with pretty colourful pictures - the one you see to the right of Knitting Rules. It's called "Field Guide to Knitting". It is nice... but I very soon found out that there are so, so many more stitch patterns than in that book, and that I'd prefer having more patterns instead of colourful photos. And then I found out about Barbara G. Walker's "Treasury of Knitting Patterns" series, and got the first three books. (There is a fourth one, but that was not as interesting to me as the first three, so I left it at that.) I wouldn't buy the Field Guide anymore, but I totally recommend the Treasury books; they are indeed a treasure trove, and utterly wonderful to leaf through.

The "sock innovation" book, written by Cookie A, was a souvenir from one of our England travels, and while it is quite nice and I did make a pair of socks out of it, I was sort of disappointed by the book. It promises to tell you how to design and adapt sock patterns, but the patterns in the book are only given in one single size, and I'd have appreciated to actually have examples of adaptation instead of just a hint on which technique to use. Also I prefer to knit my socks toe-up, and these are all cuff-down. The socks are beautiful, and I did enjoy looking through the book and marveling at the intricate patterns, but I'm pretty sure I would not buy that one again.

The remaining two books are June Hiatt's "Principles of Knitting" and Cap Sease's "Cast on, Bind Off", and both were very good buys. They are both solid books, full of information on how to do things - especially the "Principles" will probably tell you about everything you need to know about everything.

So... in the nine years since I started knitting, I managed to buy only two knitting books that I'm not still in love with, and that I would probably not get again. I also managed to buy only eight books altogether, including those two. With the six others, I have yet to find another book that I feel would add more knowledge not covered already to this bit of the bookshelf - so I am really happy with these choices!
0
MAI
31
0

Holiday!

It's a holiday here in Germany today, so instead of giving you a proper blog post, let me point you to another blog: Jenny Dean's Wild Colour, where she writes about tests with Anglo-Saxon mordants (clubmoss) and lots of other interesting things - if you like to read about historical dyes and natural dyestuffs, you will definitely want to check out this blog.

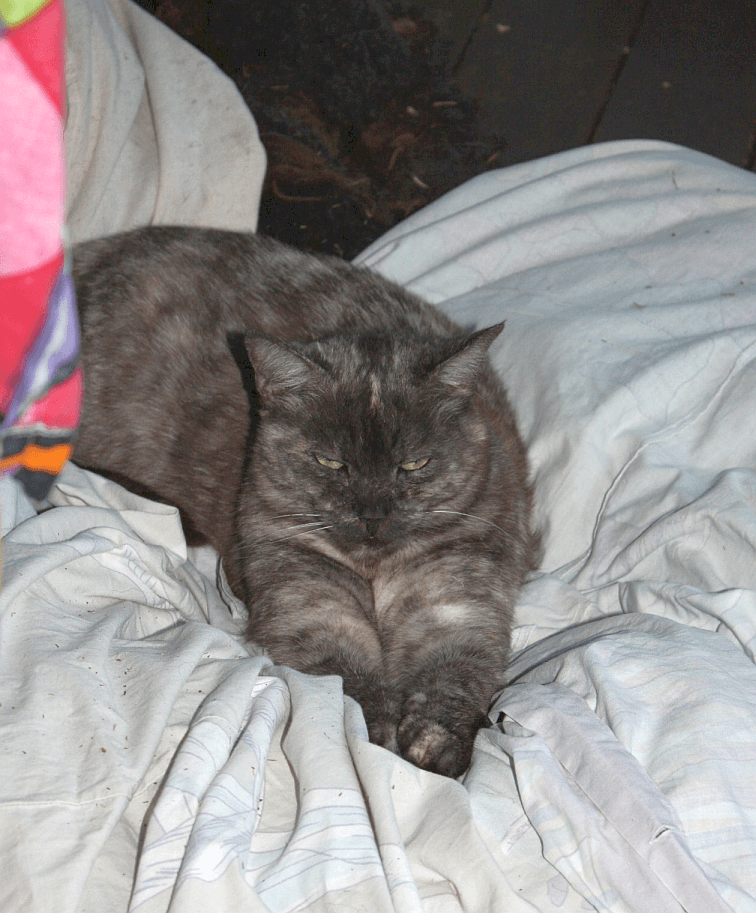
And for those of you who don't care about these things, here's at least a gratuitous cat picture:

cat-on-wool

That bag she is lying on, by the way, contained unwashed Waldschaf wool... resulting in a cat that was not only well-rested and happy, but also quite definitely smelling of sheep!
0
MAI
28
4

The Tandem!

I didn't realise the tandem would be such an interesting thing, and get several comments right away! It is such a normal piece of life for us, and has been for years, that I don't think twice about it anymore. And yes, hauling stuff is very easily done with this contraption (but transporting wool was not the main reason we got it).

Back in about 2004/2005, the Most Patient Husband and I realised we would both like to go on bike holidays together, but our performance on bikes was, how shall I put it: slightly dissimilar. Slightly as in that famous race between the hare and the hedgehog, only without the hedgehog trick. (I was the hedgehog, by the way. Still am.) So the obvious solution was trying out a tandem, and we started right away to look for one with good luggage capacity to get holiday equipment onto the bike without having to add a trailer (which is the usual solution for tandem vacations).

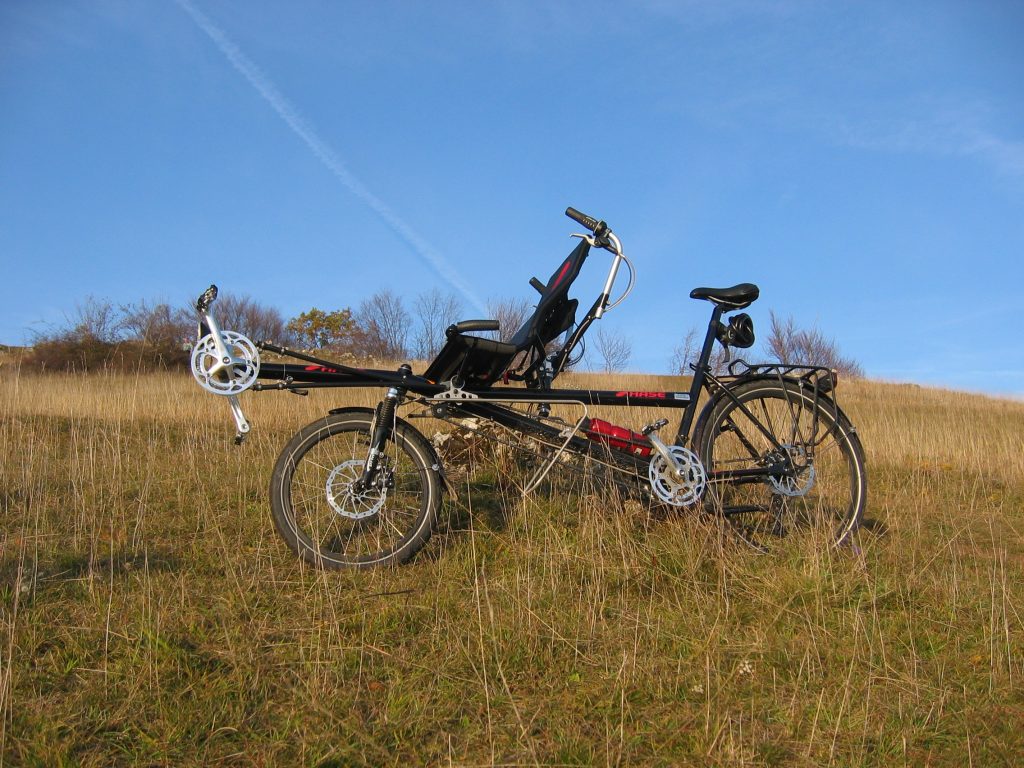
We stumbled across a slightly unusual bike that way - the Hase Pino. Which was a semi-recumbent, and we'd never had contact with 'bents before, so it was all very weird and new. On this, you have the usual luggage rack that will fit three bags (two panniers and a topcase), plus an optional lowrider underneath that will fit another two large and two small panniers. Which sets you back a bit compared to two single bikes, but not so much.

So we went to our local bike dealer for special bikes, ZoxBikes - and he did have one of the tandems... so off we were for a test ride. The first metres were very weird, and the first corners doubly so, as the stoker (the one not handling the steering stuff) sits on top of the front wheel. Which means the captain (the one who does handle the steering stuff) has to guess where the wheel is, and the stoker has the feeling of going straight into a wall or the abyss that you can get when you sit in a bus right in front.

A little test round an a slightly larger test round later, we went home... and we got our tandem in October 2005.

Daniel_IMG_5068

It's a relatively pricey bike (you pay extra for exotics), it does have quite a few flaws (there are some technical details that are, well... questionable), but we haven't regretted our decision for a single second. We've gone on tours long and short, we've hauled all kinds of stuff with it, we've spent wonderful vacations in Spain and (most often) in England with this thing. We also use it as our main daily means of transport when we go somewhere together, year round - on spike tires in winter for safe riding.

So. That's the tandem story - or at least the first part of it. If you have questions, ask away in the comments, and I'll write more!
0
MAI
15
2

Rhubarb Cake.

At the Nadelwelt, there were also opportunities to get some journals - about textile crafts, obviously, but also some lifestyle and food and drink journals, to round it all off. I happened to get one about food and drink into my hands, and of course I had to leaf through it.

That issue of the journal claimed to have the recipe for the world's best rhubarb cake. That cake featured a weird mix of shortcrust dough and yeast dough. That you were supposed to mix together until they sort of marble. Um... very, very weird.

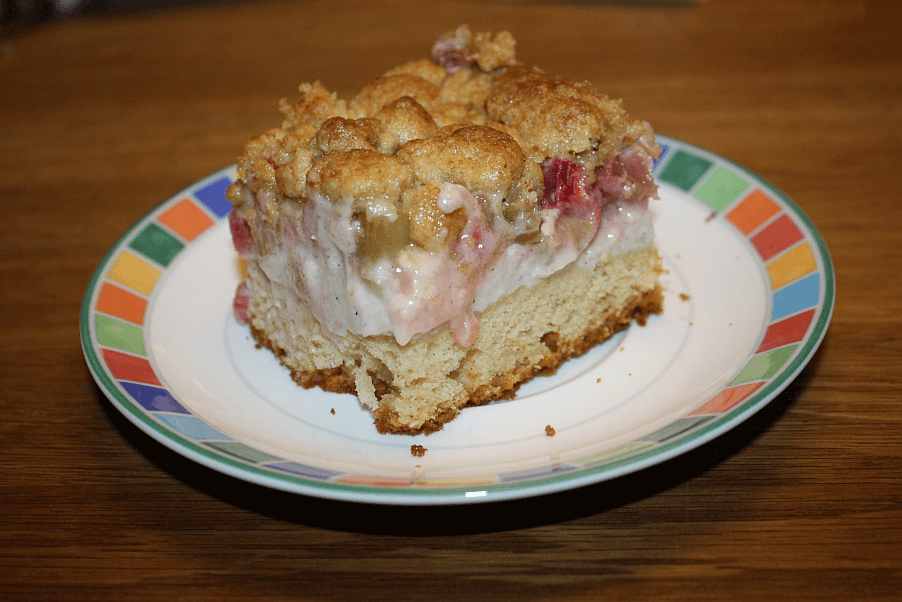
Well. That extra weirdness aside... I happen to know the world's best rhubarb cake. Intimately. It looks like this:
cake_piece

There is a nice layer of fluffy, moist dough, covered with a vanilla custard layer that smoothly transitions into a lot of wonderful rhubarby rhubarb, and all that is covered with a generous layer of streusel. That, dear readers of this blog, is the world's best rhubarb cake.

And here's the recipe for you:

For the dough:
200 g butter
160 g sugar
2 packets vanilla sugar (about 16 g)
4 eggs
150 g sour cream (around 24% fat content)
360 g flour (I use spelt flour)
2 heaped teaspoons baking powder

For the custard:
750 ml milk
60 g sugar
25 g vanilla sugar (1 part ground vanilla beans, 9 parts white sugar)
60 g starch
250 g sour cream

For the streusel:
400 g flour
200 g sugar
about 16 g vanilla sugar
300 g butter (cool to cold)

and, of course, rhubarb - 2 kg of rhubarb. Yes, that is a lot. This is not a puny little cake that has a hint of rhubarb. This is Rhubarb Central with Streusel on Top.

Peel the rhubarb and cut into cubes of about 1 cm side length; sprinkle lightly with sugar to draw some of the juice (and acid) out. (You could also blanch it, but I go with the sugar version on this one.) Let sit for about half an hour (or longer, that is no problem).

Put most of the milk for the custard into a pot, mix in the vanilla sugar, and bring to a boil. Use the remaining milk to stir in the starch and the sugar. Once the milk is boiling, take it off the heat, stir in the custard mix, place back on the heat and stir until it thickens and bubbles lightly. Remove from heat and let it cool off a bit, stirring occasionally.

Beat butter and sugar for the dough to a creamy mixture, add eggs, vanilla sugar, sour cream and the flour mixed with the baking powder. Spread on a baking tray (a large one, 30 x 40 cm), and pre-bake in the pre-heated oven for about 12 minutes at 180°C with the convection fan on. I recommend using a baking frame around the tray, as the cake will get rather high in the end, when it is all assembled.

Cut the butter for the streusel into small pieces and knead together with the rest of the ingredients until just combined; it should form smallish streusel all on its own.

Stir the sour cream into the custard and spread on the pre-baked dough layer. Dough visibility after you do this: zero.
Now spread the drained rhubarb cubes on the custard layer. There will be a lot of rhubarb. That is meant to be this way (and also why the cubes are so small - they pack more densely this way). Custard visibility after adding rhubarb: close to zero or zero.
As the final layer, you spread your streusel on top of the rhubarb. Rhubarb visibility after adding this final layer should be close to zero or zero.

Bake at 180°C for about 30-35 minutes; the streusel should be golden brown.

There you go. The custard and sour cream mix wonderfully with the tartness and taste of the rhubarb; the dough basis makes it a cake, and the streusel add texture and sweetness and buttery richness. It's not very sweet overall, so if you prefer your cakes very sweet, you might want to add more sugar to both the dough and the custard - I love it best this way.

If you're making it (it's the season, after all), do let me know if you agree or if you have another opinion on what is the world's best rhubarb cake!
0
APR.
20
0

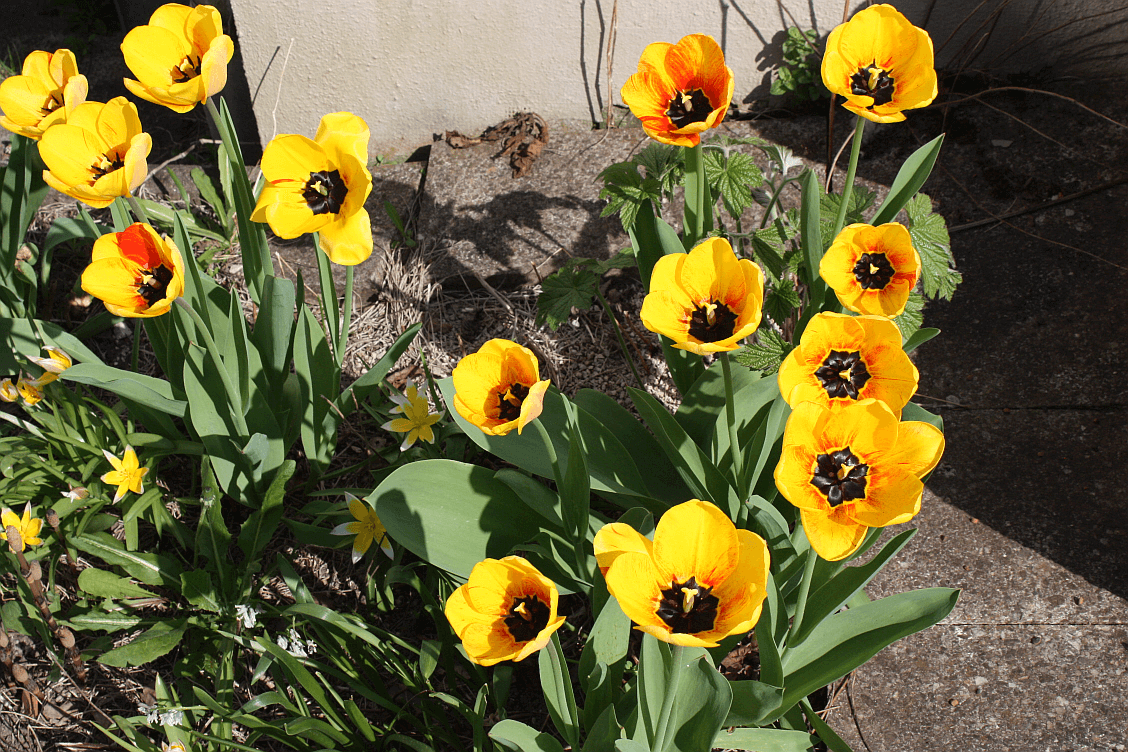
Full Bloom!

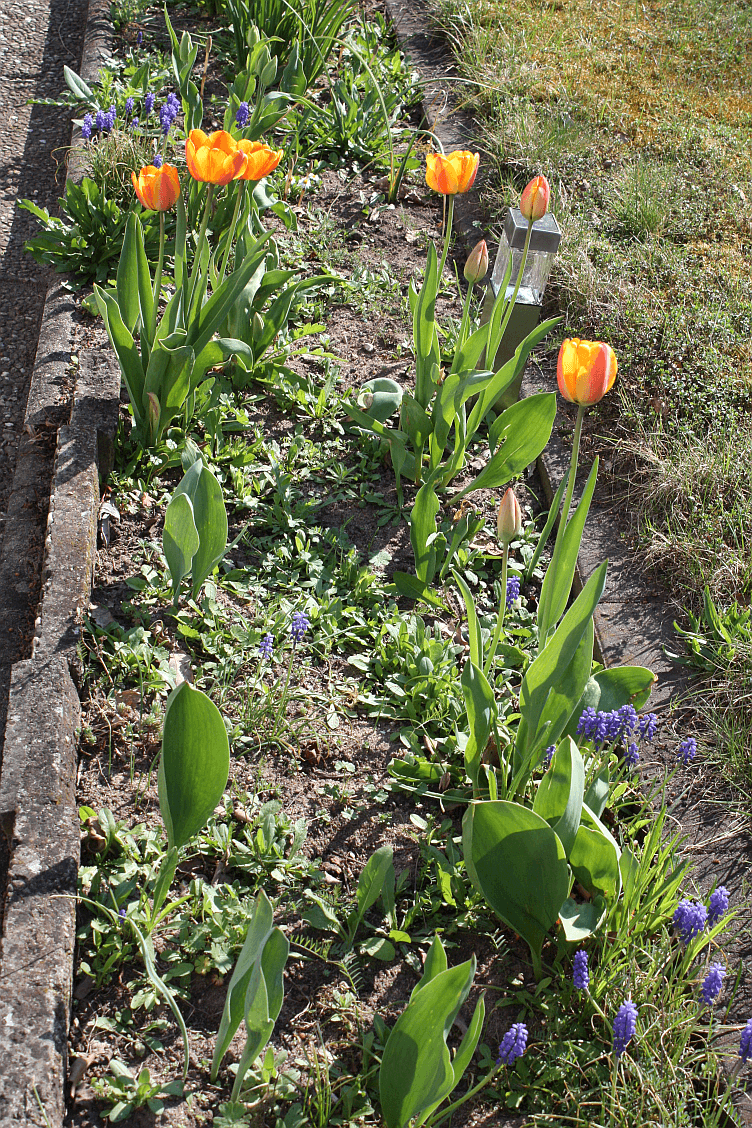
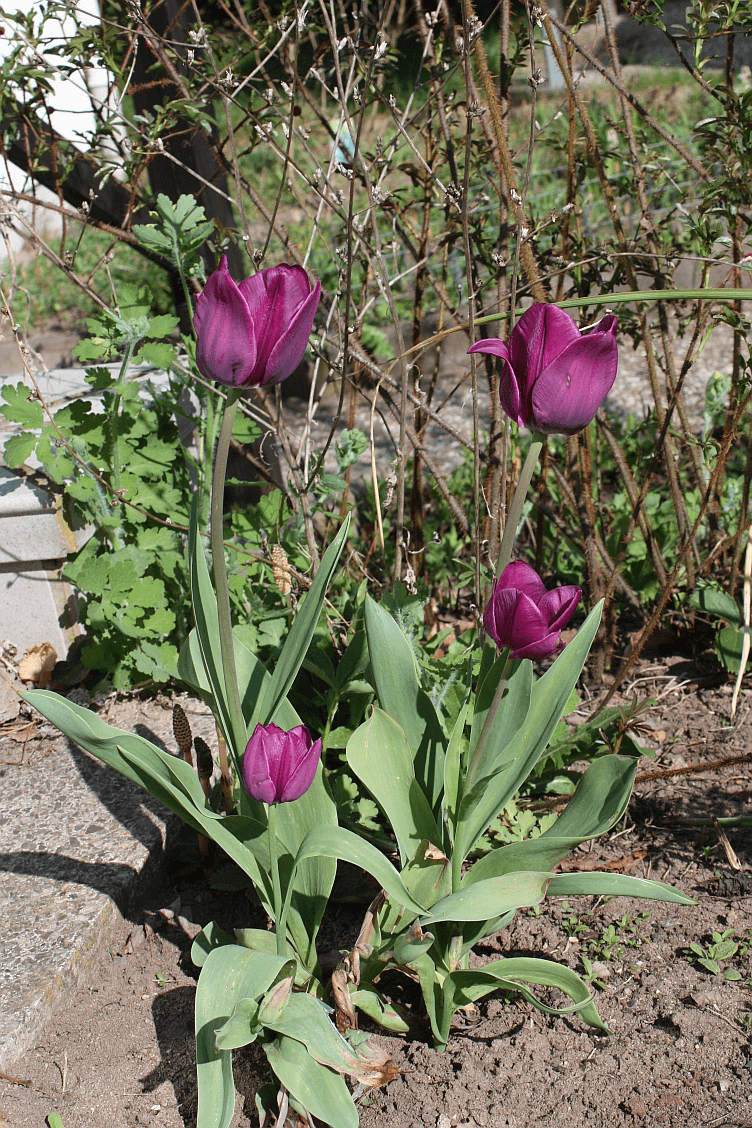
When I came back from the last fair, the garden greeted me with lots of beautiful flowers, and it's Friday, and I think you might enjoy some garden pics too, so here you go:

tulip3

Tulips!

tulip1

Even more tulips!

tulip2

Still more tulips! Can you tell I really like these flowers? Also, they don't need much care and come back every year, so... the perfect thing for my not very consistent gardening approach.

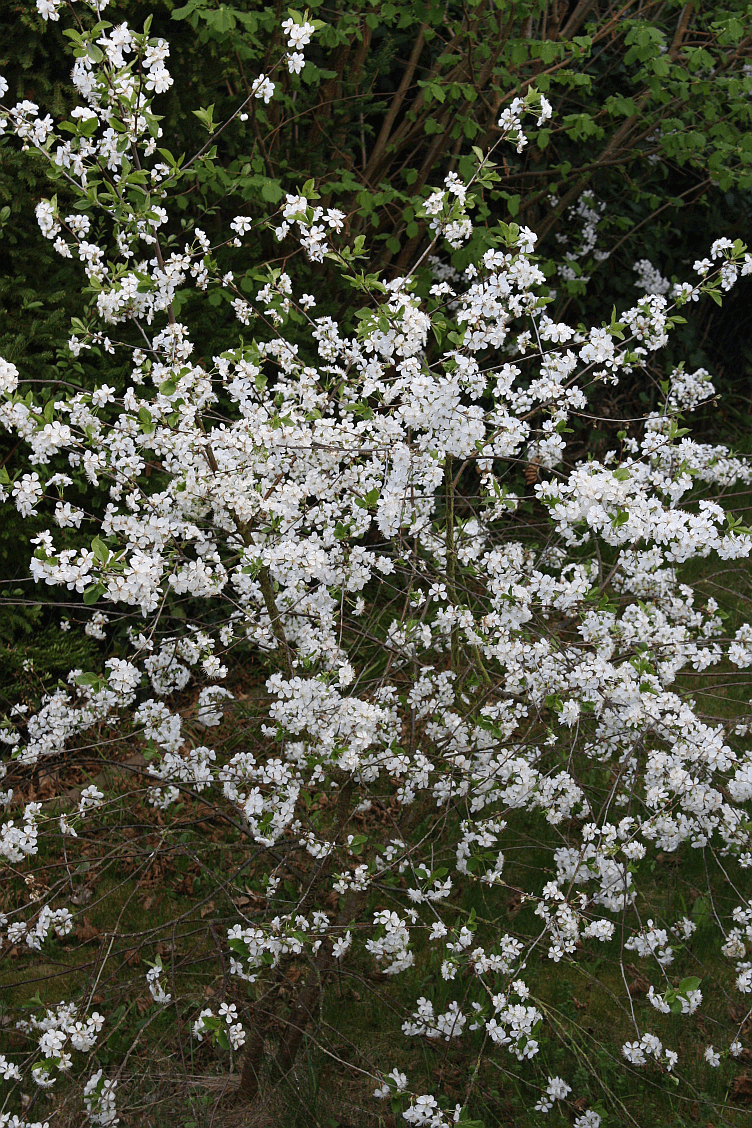
The cherry tree is also in full bloom:

cherryblossom

It's a very small, shrub-like morello cherry tree, and if the amount of blossoms is a hint on how many fruit it will have, we'll be in for a treat this summer. Maybe a lovely cherry cake?
0
APR.
16
0

Oillight videos.

When I'm at the fairs, it's always fun to explain the simple yet ingenious principle of the oillight to people. A lot of them get just as excited about these little things as I am - especially those with a bit of a green soul and a bit of a love for tea on teapot-warmers, as it's possible to replace tealights with the oillight.

Explaining these things, I quickly learned that most of the visitors are really new to this old concept that's almost forgotten today: place a swimming wick-holder on top of some vegetable oil which in turn floats on some water in a glass of your choice. The wick will burn until the oil is used up (or you extinguish it).

Because the concept has been almost forgotten today, I ended up taking an explanatory video that runs on a little tablet in my booth - to help explain the thing, and show how the lights actually look when in use (safety restrictions keep me from just lighting one - no open fire allowed at any of the fairs).

Now I've finally managed to go over the oillight videos and get them embedded into my shop, and while I was at it, I did a translation of both of them (which for the German fairs were, obviously, subtitled in German). Yay! So you can now watch the show on my Youtube channel, when you are looking at the oillights in the shop... or right here:


0

By accepting you will be accessing a service provided by a third-party external to https://www.pallia.net/

Kontakt