Yesterday I received an email, asking about spindle whorls slipping off the spindle stick while spinning - and I suddenly realised that this issue is not that uncommon, and that I should maybe write a little info thingie to go with the spindle sticks and whorls. So here you are - it's coming to the blog first, so please feel free to comment and ask further questions!
Medieval-style spindles, as opposed to modern spindles, don't have the whorl attached permanently. Instead, the shape of the two pieces makes it possible to attach the whorl to the tapering stick by just pushing it on. This means easier storage of the spindles plus more flexibility, as you can use one whorl with several sticks, or exchange the whorl for a lighter one to account for more weight of the yarn on a partly-filled spindle stick. You could also use the filled spindle stick directly as a shuttle for weaving on a warp-weighted loom, if you were so inclined.
This method of fitting the whorl onto the spindle stick relies on enough friction between the two parts. To avoid the whorl falling off, there are two things to take into account: Firstly, fitting it securely enough when you place it on the stick, and secondly, making sure that there is no downward pressure onto the whorl while working.
To fit the spindle whorl to the stick, I recommend sliding it up the stick as far as it will go up easily, then give a light twist to the whorl and gently pressing it upwards at the same time. Gentle pressure will suffice, and just a few millimetres of twisting of the spindle against the whorl. It should now sit quite firmly on the shaft. You can test the fit by gently tugging downward on the whorl; it should not budge.
If you have mounted the whorl like this, it should stay there throughout your spinning. If you drop the spindle, the whorl might come off - that is perfectly normal, just put it back into place as before, and carry on.
If the whorl falls off even though you have not dropped the spindle, there are two possible reasons for this.
If you have used the spindle stick a lot with the same whorl over and over, there might be a compressed spot where the whorl grips the wood. This is especially an issue with spindle sticks made from soft wood (such as pine or fir, for example). If that is the issue, you can usually see a ridge where the top of the whorl usually sits. The compressed part of the spindle can't provide enough friction with the whorl anymore, and the whorl cannot slide further upwards over the ridge, so it will not sit securely anymore. Should that ever be a problem, you can revive the stick by placing it in water; the compressed wood fibres will soak up the liquid and swell back into place. Let it dry thoroughly before you use it again.
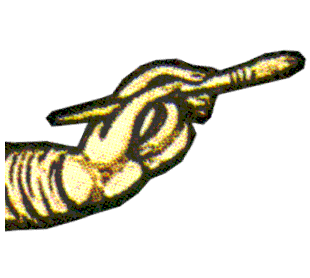
Most times, however, the spindle whorl slips off because the cop of yarn is pressing against it. If you look at medieval images of spindles, you can see that the yarn is in a sort of rugby-ball-shape or spindle-shape, and it is usually quite clearly wound onto the middle of the spindle stick, with a distance to the whorl. (Sometimes there is no whorl discernible at all, especially when the spindle looks like it's quite full already, but the cop is always this rugby-ball-shape or spindle-shape.)
[caption id="attachment_2257" align="alignnone" width="362"]
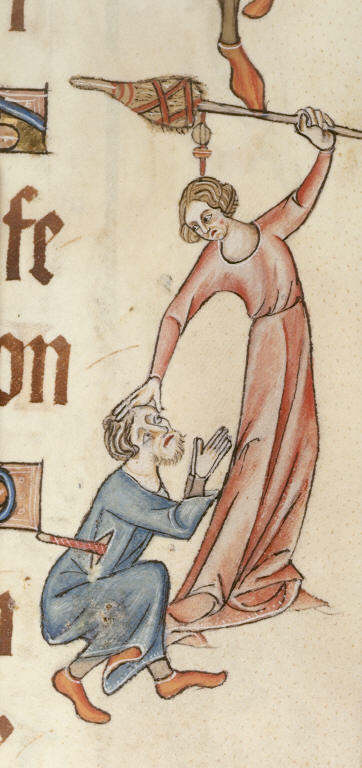
British Library MS Additional 42130, f.60. A woman striking a man with her distaff. Note the very round cop of yarn on the spindle - it is keeping its careful distance from the whorl.
Many modern spinners are used to whorls that are glued onto their spindle, and there's a habit of winding in a sort of cone that rests against the whorl. This cone can put a surprising amount of pressure onto the whorl, so if you wind in this modern way with a medieval spindle, it will definitely press the whorl off the shaft at some point.
[caption id="attachment_2254" align="alignnone" width="309"]
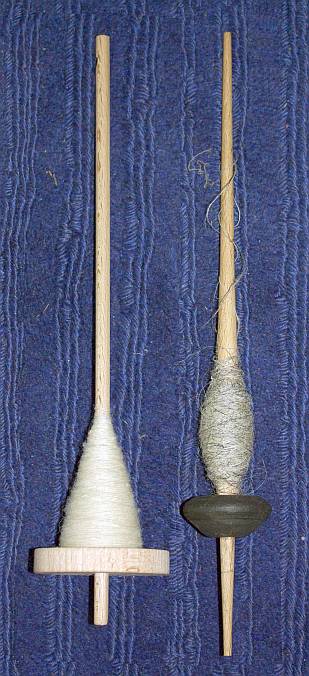
Modern-style winding on the left, medieval-style winding on the right. The modern, cone-shaped cop rests against the (permanently fixed) whorl.
So you need to build a yarn cop that is stable enough not to need support by a whorl. You can achieve this by winding in a criss-cross fashion, instead of winding in a right angle around the spindle shaft with the windings parallel to each other. Start your yarn cop at a good distance to the whorl; this makes sure that you will have enough space to build up a sizeable cop before running into the whorl.
[caption id="attachment_2253" align="alignnone" width="372"]
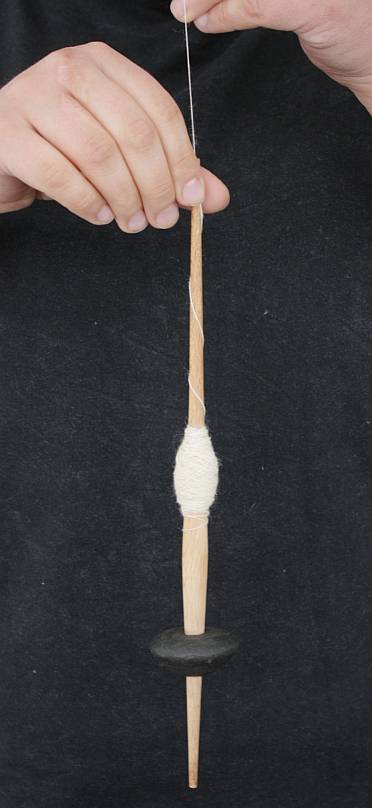
Starting the yarn cop in the middle of the spindle stick leaves lots of space to build it up.
You can alternate winding parallel and criss-crossing the yarn over the cop; winding the yarn in these two fashions lets you build a stable and dense cop.
[caption id="attachment_2255" align="alignnone" width="371"]

You can see the parallel winding on top of a criss-crossed layer here: At the top of the cop, the criss-cross structure is still visible, but the middle part is wrapped over in parallel.
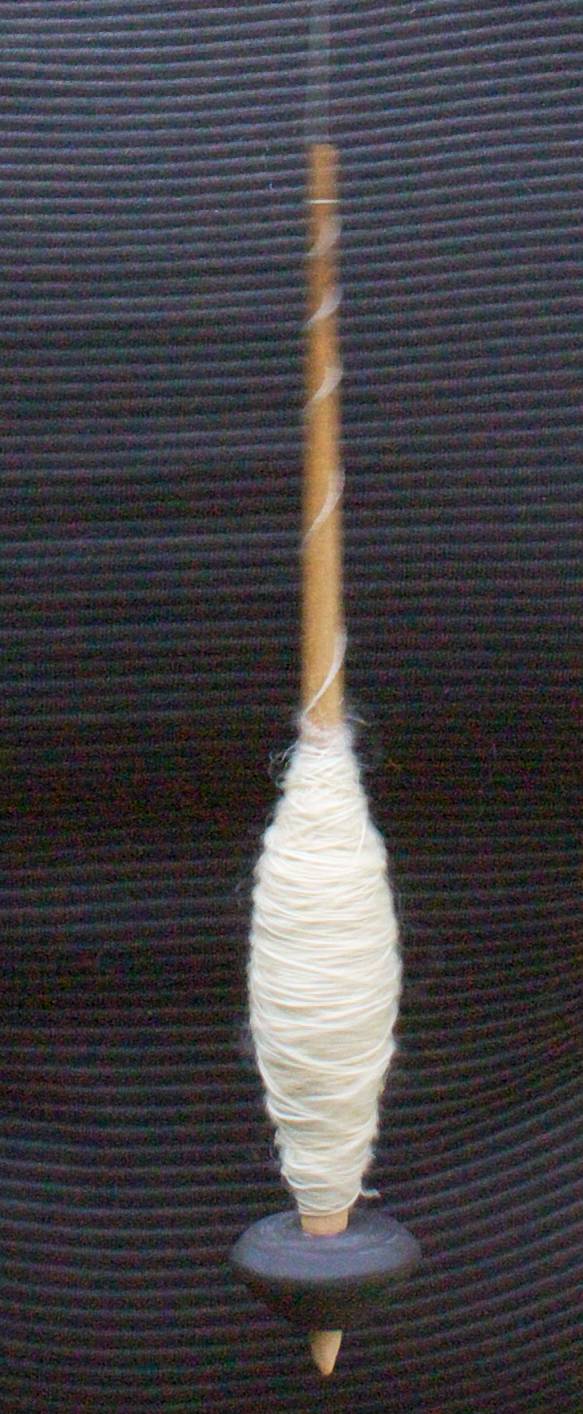
Eventually, your yarn will start to touch the whorl. You can then go on spinning until the yarn pushes the whorl off the spindle; you might be able to fill it even further if you try to wind more towards the top of the cop than towards the bottom.
[caption id="attachment_2256" align="alignnone" width="640"]
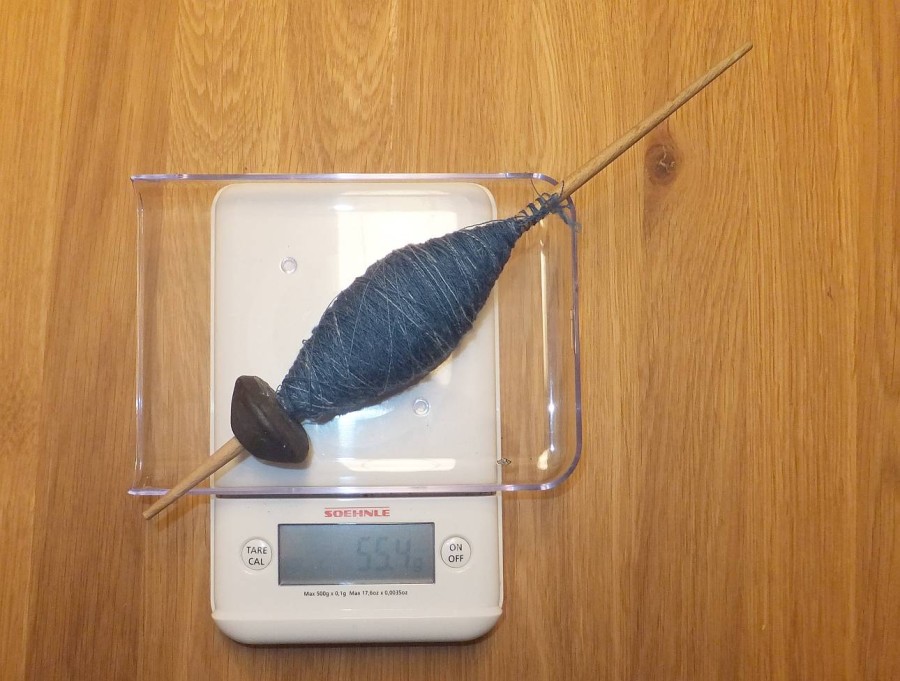
The yarn cop has grown so much that it now touches the whorl, though there is still no pressure onto the whorl, and the cop could be built up more towards the top of the spindle. (Empty weight of the spindle was 35.4 g, by the way, so that's 20 g very finely spun yarn.)
In any case, once your whorl comes off, you can either declare the spindle as full, or you can leave the whorl off and continue spinning either with a (typically lighter) whorl that sits further down the spindle shaft, or without any whorl at all.
Happy spinning, and happy winding!
")
")