So, after finding out that my drawing skills are indeed horrible, let's look a bit more at diverse instances of yarnwinders in actual historical artwork. Images of yarnwinders are not that straightforward to find, so I've been using the
yarnwinder linklist by larsdatter.com as a starting point. Things listed in the following without links are from that list.
There's also some yarnwinders
listed as utensils in the Morgan Pierpont library database, which is very nice. These are also referenced to without links, but you can identify them via call number.
If you know of more yarnwinding pictures, please let me know!
And now on th the actual images. Well. They vary greatly. Some of the later ones are very clearly showing the perpendicular crossbars and are also accurate regarding yarn path. Examples for these are, from the larsdatter list,
Peasants by the Hearth (Pieter Aertsen, 1560s)
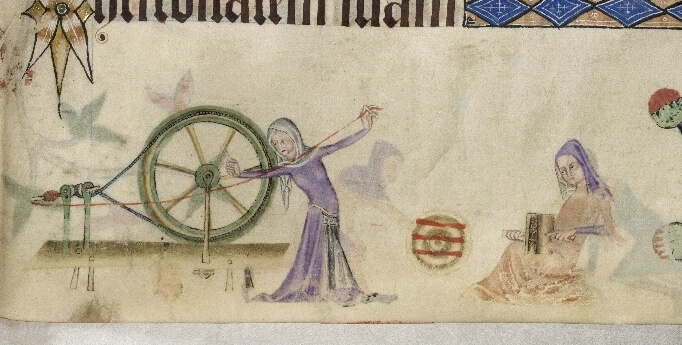
Man and Woman by the Spinning Wheel (Pieter Pietersz, c. 1560-1570)
Base-de-page, The Hours of Catherine of Cleves (PML
M.917, fol. 109), c. 1440. This is also on the PML list, Call No.: MS M.0917/945, p. 109.
Portrait of a lady spinning by Maerten van Heemskerck, c. 1531. This yarnwinder also has diagonal struts between the crossbars and the middle stem - something that might add even more to the confusion of images.
A visit to the wet nurse by Marten van Cleve (third quarter 16th century) shows a winder with very straight arms (on the partition wall close to the door at the right side of the painting).
An old man by Lucas Kilian also has the correct yarn path, and also looks like it has diagonal struts between crossbars and stem.
In addition to these from the larsdatter list, there's the bonus
lady riding the pig, from the 1460s manuscript mentioned yesterday.
And from the PML list, Call No.: MS M.0230, fol. 003v - Flight into Egypt, dated to 1435.
There's also a variation of the yarnwinder with an extra handle coming out of the bottom end, and usually a little knob or short bit of rod at the upper end, showing a similar yarnwinding pattern to my very crude drawing from yesterday - one V-shape that has its point in the middle of one of the crossbars and two upright strands of yarn.
Again, the larsdatter examples:
Both examples from the Maastricht Hours (Brit.Lib. Stowe 17), 1st quarter 14th century.
However, there's a second winding pattern that can be seen, and that is an X shape with two parallel yarn strands at the sides. Examples for this kind of picture can be found both with handled and with handleless yarnwinders. Again, from the larsdatter list:
Mural cycle showing the processing of silk and flax at the Kanonikerhaus in Constance, Germany, c. 1320: a woman winds (linen?) thread (handled; image is hard to read)
An ape holds a spindle and winder, psalter (Douce 6, fol. 48r), c. 1320-1330 (non-handled, cross is at the back)
Adam and Eve, a book of hours (Douce 248, fol. 207r), middle of the 15th century (handled, cross very clear)
Finally, there are some winding patterns that differ again.
An ape winds wool, Voeux du paon (PML G.24, fol. 15r), c. 1350 shows just an X shape, with no extra upright yarn strands, and
A woman winds thread from a spindle, the Hours of Charlotte of Savoy (PML M.1004, fol. 96r), c. 1420-1425 seems to show the same pattern, though the picture available online is very hard to read, as it's very light.
From the PML list: Pierpont Morgan Library
M.453, France, c 1425-1430 has a lady with a handled yarnwinder with X pattern on fol. 114r. Call No.: MS M.0453, fol. 114r
Also from the PML list: Call No.: MS M.0919, fol. 232v, early 15th century. I do not think that Call No.: MS M.0919, fol. 164r from the same manuscript shows a yarn winder - it looks more like a cooking stand or something similar to me.
Back to larsdatter - Veturia, De mulieribus claris (BNF Fr. 599, fol. 48v), 15th-16th century, is completely different again - here the yarn is wound straight around the parallel crossbars of a handled yarnwinder, no crossings whatsoever.
For both the long-handled one and the handle-less one, some images look like the crossbars are parallel, and some like they are perpendicular.
Old woman spinning (the niddy-noddy is next to her on the bench), 16th century shows an empty handled yarnwinder, with the crossbars clearly not parallel, but not properly perpendicular either.
Standing woman with winding tools by Andrea del Sarto (late 15th to early 16th century) also shows an empty handled version, crossbars perpendicular.
PML Call No.: MS M.0754, fol. 080v has a yarnwinder in a bird's beak in the upper margin, though whether this is an empty one with struts or a filled one is not possible to tell.
PML Call No.: MS M.0754, fol. 067v shows the same yarnwinder again, same style (which is to be expected in the same manuscript). That manuscript seems to have been yarnwinder central, actually - fols. 22r and 21v also show yarnwinders. Date is 1320-1329.
So. Plenty of different types, plenty of different winding patterns. Next step? Finding out if there's a pattern somewhere. Which will work even better with more pictures, so if you have something to add to this list, please comment!
")
")


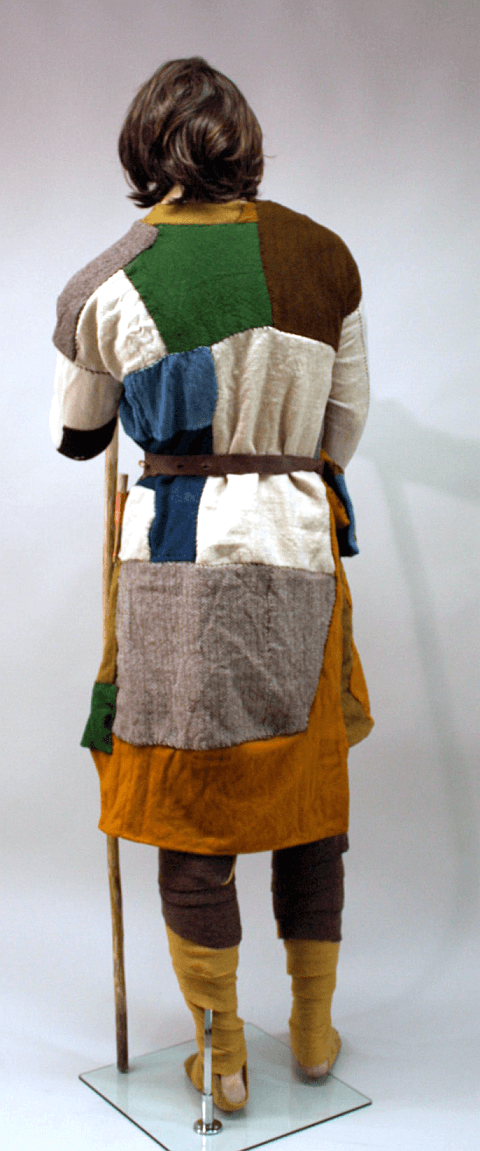
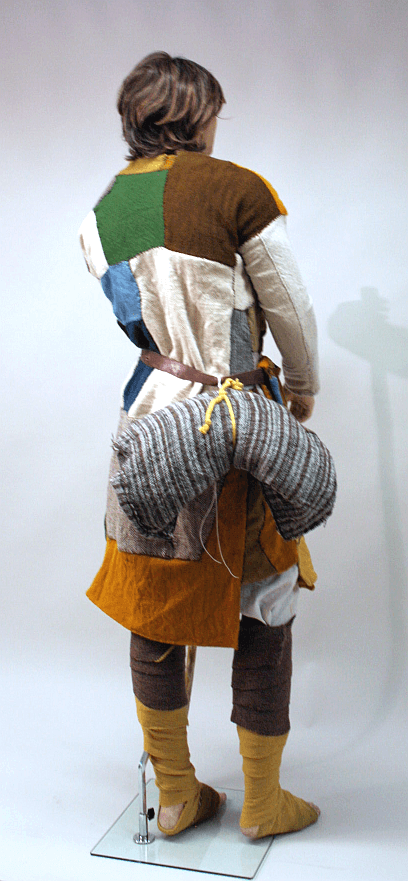
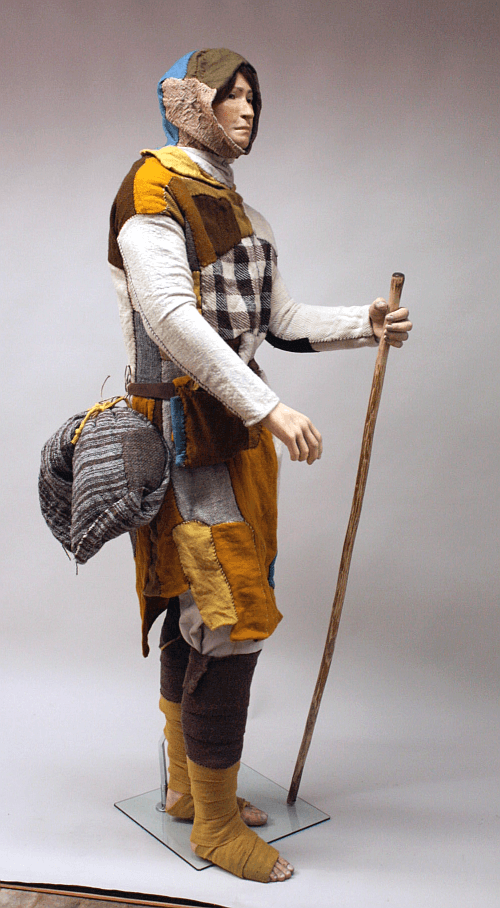 Our reconstruction, in the setup that he can be seen in at the museum.
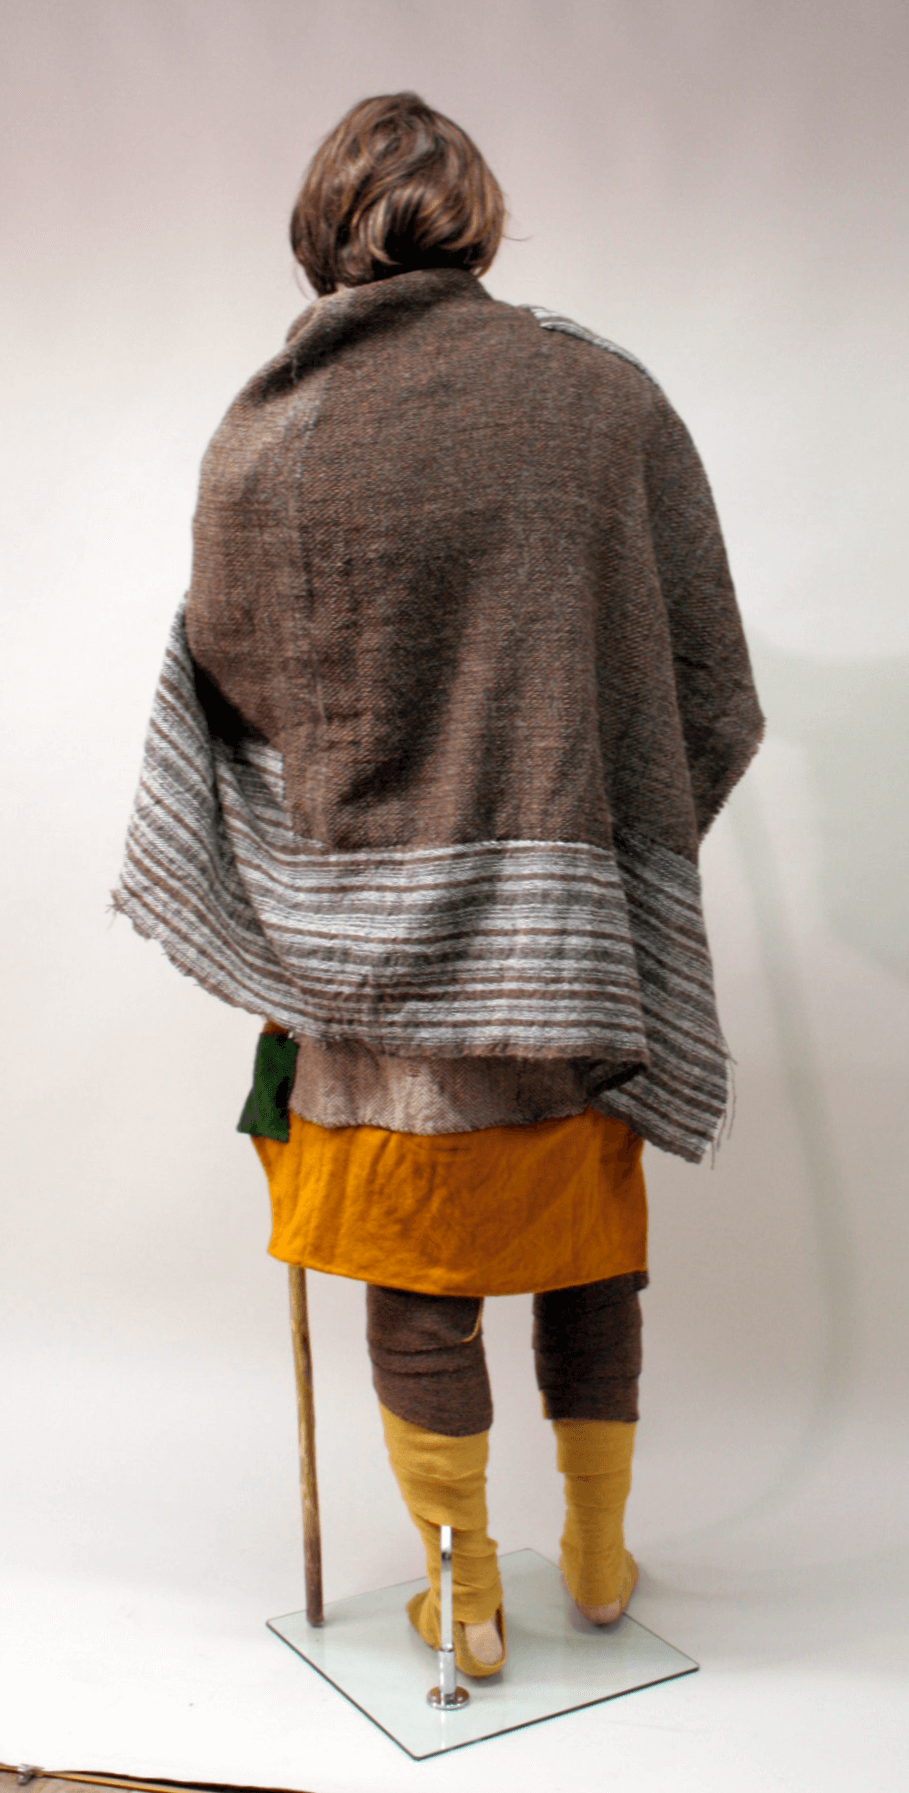

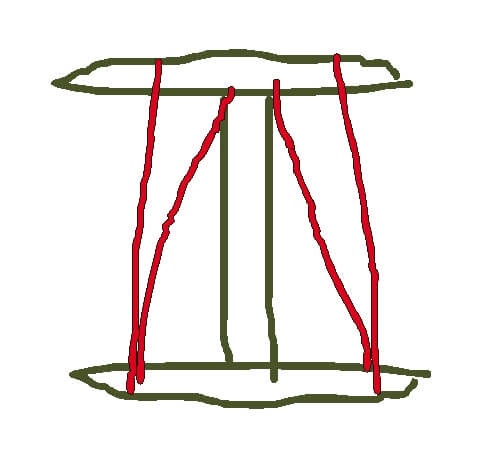 Yes. My skills at making freehand drawings on the computer with the touchpad are very, very near zero. Sorry.
